

Ready to dive into the bubbly world of soap making?
No need to stress—it’s easier (and more fun) than you think! This blog will show you how to create custom soaps at home using melt & pour bases. From dreamy designs to delightful scents and vibrant colors, you’ll be whipping up soaps so good-looking you might not want to use them! Let’s get started and unleash your inner soap artist!
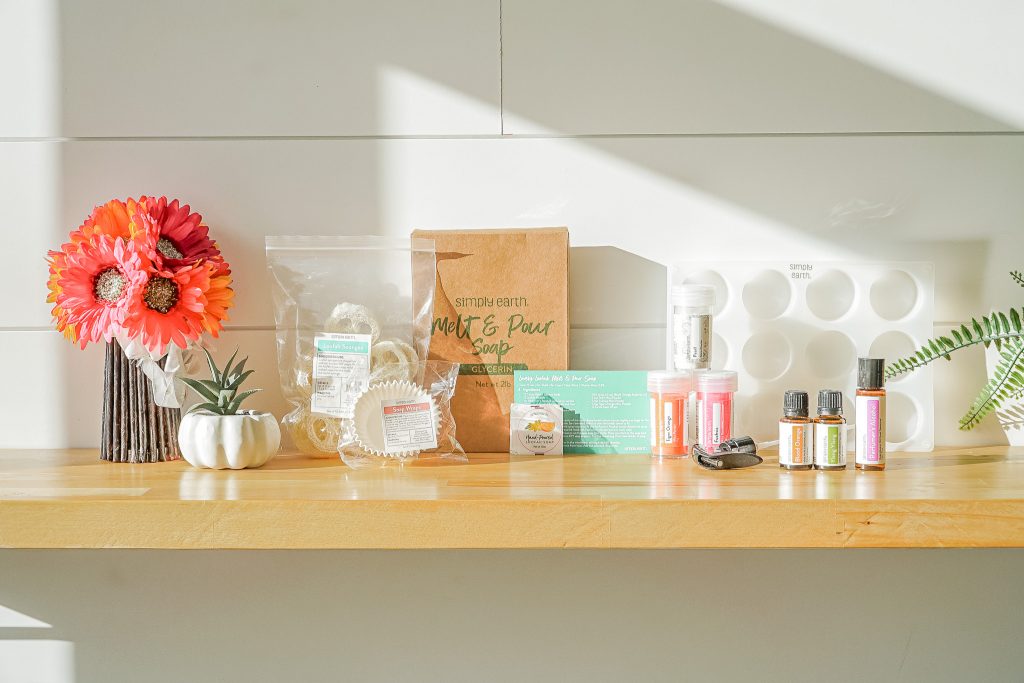
What You Need (Best Ingredients for Melt and Pour Soapmaking)
Essential Oils. Add aroma and benefits to your soap—choose calming, uplifting, or soothing properties. Avoid skin irritants like Cinnamon or Cassia oils.
Carrier Oils. A bit of carrier oil can add skincare benefits, but too much affects soap consistency. No need to dilute essential oils here!
Mica Powders. Create vibrant, natural colors by adding mica powder directly or mixing it with rubbing alcohol for even blending.
Oatmeal. Perfect for gentle exfoliation and soothing skin. A classic addition to melt & pour soaps.
Clay. A gentle exfoliant that adds natural color and supports skincare.
Sugar. For cleansing and exfoliation, sugar is less abrasive than salt but more than oatmeal—great for body soaps!
Flowers. Lavender and other flowers add charm but may discolor your soap over time.
Loofahs. This natural exfoliator adds texture and is perfect for scrubbing away dead skin.
Soap Molds. Choose from single-cavity molds for quick bars, multi-cavity molds for bulk, or loaf molds for creative designs.
Check this blog about the best ingredients in soapmaking for a detailed description of each ingredient!
How to Make Melt & Pour Soap
Cut the Soap Base into 1-inch Cubes
Start by cutting your soap base into 1-inch cubes. This helps it melt evenly and prevents overheating during the process.
Melt the Soap
Gently melt the soap base using a microwave or double boiler. You can add a tiny amount of carrier oil for extra skincare benefits, but keep it minimal. Unlike other recipes, melt & pour soap recipes do not require carrier oils for dilution. Be cautious—too much carrier oil can impact the soap’s consistency.
Add Your Ingredients
Now’s the fun part! Add ingredients like essential oils, dried flowers, or exfoliants. If the soap cools too much and begins to harden before you’re done, simply reheat it. Want to get creative? Divide the melted soap into separate bowls to mix in different colors or create layered designs.
Pour into Molds
Carefully pour your soap mixture into molds. This is your chance to design—add swirls, stripes, or layers for a unique look. If you’re making layers, spray each layer with rubbing alcohol to bind them together and eliminate air bubbles.
Let It Cool
Patience is key! The soap will harden around the edges, but the center might still be liquid. Wait until the soap is completely cool and firm before removing it from the mold. Larger bars may take longer to set.
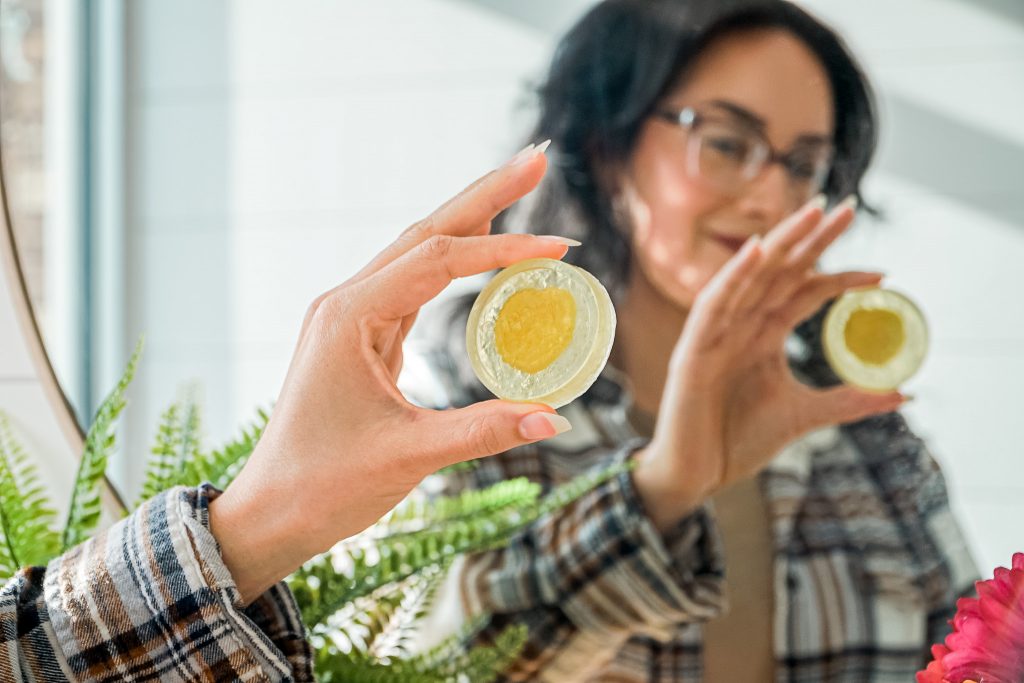
And that’s it! Making your soap with the melt & pour method is both easy and a creative and rewarding experience. Enjoy your custom-made soap!
Melt & Pour Soap Recipes
Try out some of these fun soap recipes below! Feel free to make changes according to your preferences. Remember, melt & pour soap is entirely customizable!
- Rose Quartz Soap
- Cocoa Marble Soap
- Flower, Spice & Something Nice Soap
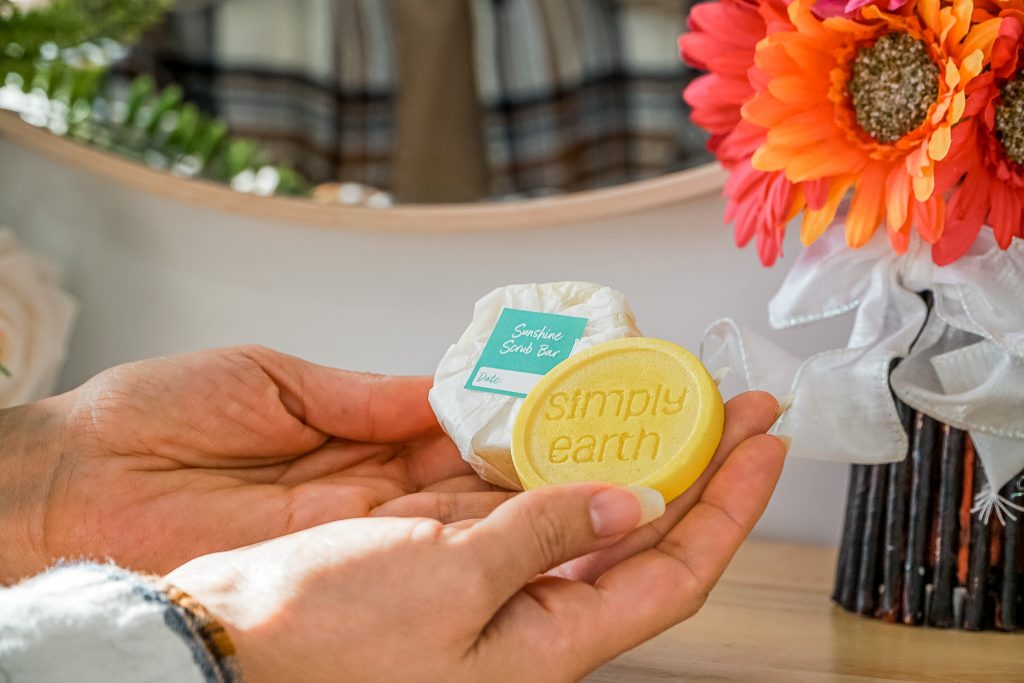
- Happy Joy Face Soap
- Elve’s Special Pine Soap
Wrapping It Up with Sudsy Smiles!
We hope you’re as excited about making your custom soap as we are! The melt & pour method lets you turn your creativity into a fun and practical outlet with endless possibilities for colors, scents, and designs. Plus, there’s nothing better than the satisfaction of using soap made by your hands—it’s like a little piece of art for your daily routine!
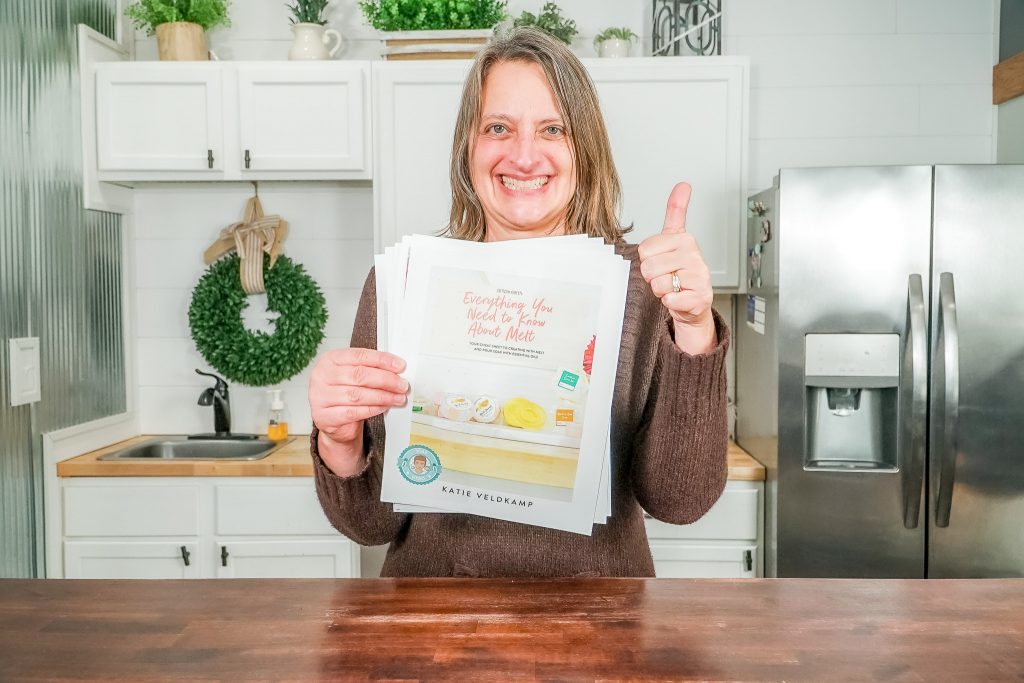
Want to take your soap-making skills to the next level? Download our free DIY Melt & Pour Soap Cheat Sheet for tips, tricks, and inspiration to make crafting even easier! Better yet, check out our DIY Loofah Melt & Pour Soap Kit, which includes everything you need to craft amazing soaps from the comfort of your home.
Don’t forget to subscribe to Simply Earth for monthly deliveries of DIY natural recipes, top-quality ingredients, and creative craft ideas. Join a community that shares your passion for homemade, natural living. Happy soap-making! 🎉