

If you’ve been following the Simply Earth blogs, you must know that we are big fans of using flowers in our DIY craft and decor recipes. We add flowers to candles, soaps, and even bath recipes.
Flowers add can add beauty to a recipe as well as personalize them for your loved ones.
In this blog, we’ll show you fun and easy ways to press your own flowers. Learning different flower-pressing techniques is such an enjoyable and useful hobby that we know you’ll love! You can use these techniques to preserve your flowers, make DIY gifts, and level-up your home decorations.
Step 1: Prep Your Flowers
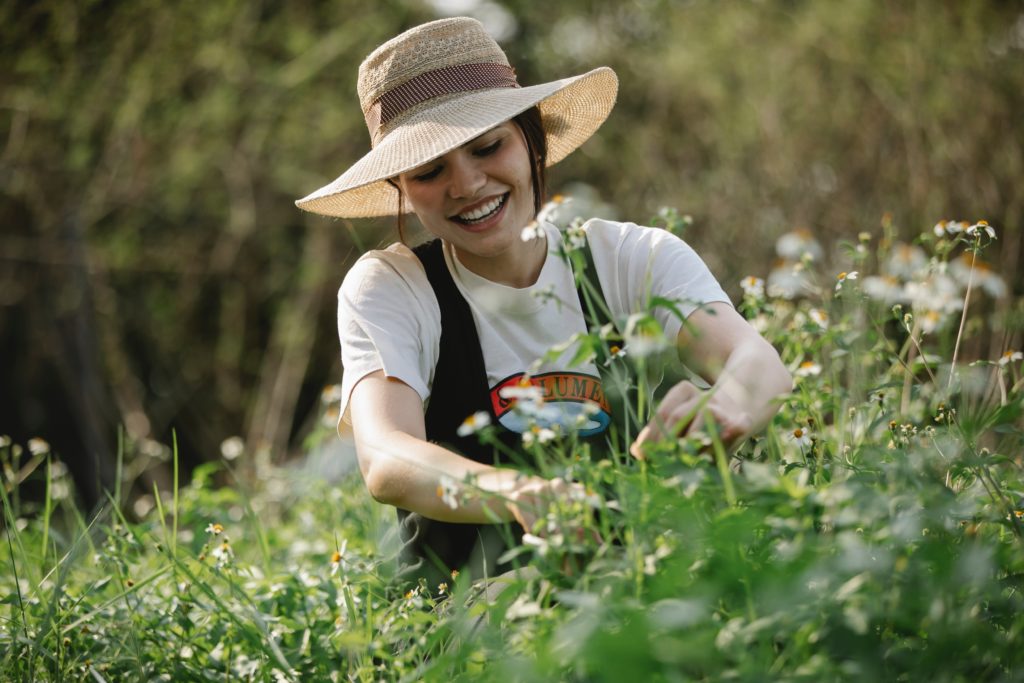
Start by going on adventure to gather flowers or pick a bouquet of flowers up at your local farmers market or flower shop.
As you make your flower selection, look for a variety of flowers and leaves to give yourself options for interesting combinations.
Once you have gathered your flowers, make sure they don’t have excess moisture on them before the pressing process.
Set them in a sunny spot for an hour or two. Flowers that are wet will be prone to mold and will take longer to dry.
*If you won’t press the flowers right away, put them in a sealed container and store in the refrigerator.
How to Press Flowers
There are several different ways to press flowers. Learn these different techniques and choose the best and most convenient way for you to use.
Using a Wooden Flower Press
Time: 3-4 weeks
Wooden Flower Presses are made solely for pressing flowers. There are ready-made wooden flower presses available in stores, or you can make your own.
- To make your own flower press, cut two pieces of rectangle-shaped plywood. Make sure they are the same size and line up perfectly when stacked. Then, Drill a hole in each corner.
- Create a plant-pressing sandwich of wood – paper – flower – paper – wood.*
- Once the flowers are in place, tighten everything together using bolts and wingnuts.
- Every four days or so, replace the paper to prevent browning.
Press the flowers for three to four weeks until desired form is achieved.
*Make sure to use paper with an even and smooth surface. Textured papers can leave prints on the petals.
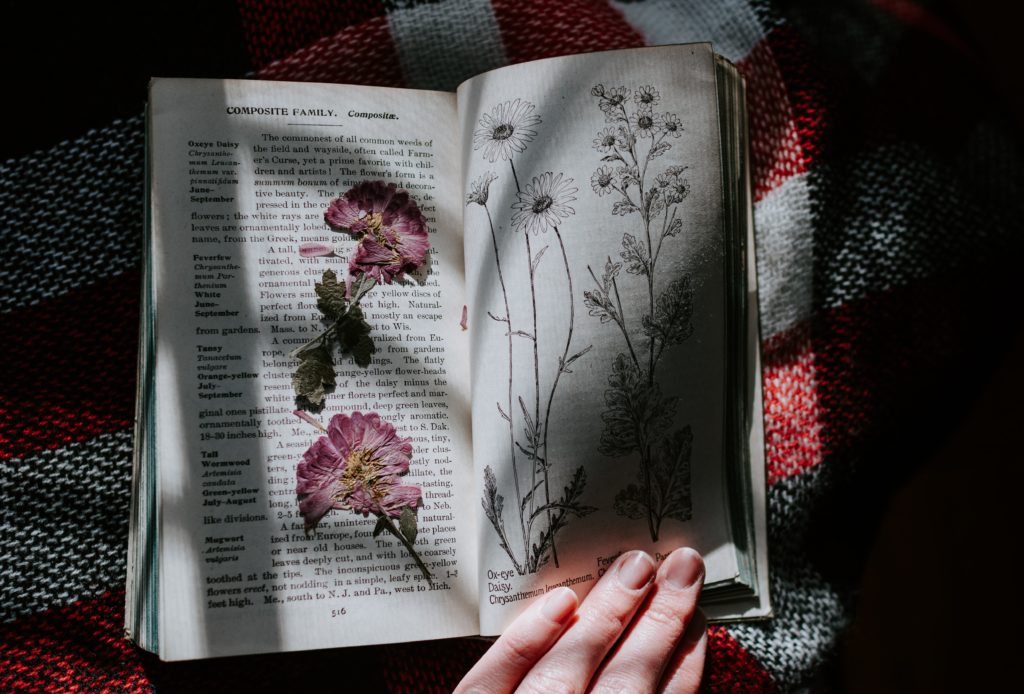
Using a Book
Time: 3-4 weeks
This is probably the easiest and most common way to press flowers. You just need a heavy book (or two).
- Place the flowers in between two absorbent pieces of paper and place it on a flat surface. Do not directly put the flower in your book.
- Place the book on top of the flowers. Add more books or weights to help flatten the flowers.
- Let the flowers sit for three to four weeks or until the flowers are completely dry.
Tip: You can also place flowers between pages in a book. Place the flowers between two pieces of absorbent paper and place them between the pages in your book. You can also press multiple flowers at once in one book. Just make sure that they are spaced out evenly and that moisture from one flower won’t reach or affect the other flower. The flowers must be kept dry for the best results.
Using an Iron
Time: 1-2 days
This method is for those who want their pressed flowers as soon as possible! If your project has a deadline, then you may consider this flower-pressing technique.
Using an iron jump-starts your drying process.
- Place your flower between two absorbent pieces of paper, like parchment paper or paper towel.
- Set your iron into low heat.
- Once the iron is hot, press the iron (do not glide) on top of the paper for 15 seconds. Wait for the paper to cool (about another 25 seconds) then press the iron again. Repeat the process until the flower is flat and dry.
- Set the flowers aside for 1-2 days until they feel dry and light.
Using an Oven
Time: 1-2 hours
You can also use an oven to dry your flower blossoms. This method works best for brightly colored flowers and may cause some blooms to turn brown. So we recommend
- Preheat the oven to 200°F.
- Line a pan with parchment paper. Arrange the flowers on the parchment paper. Place another parchment paper on top of the flowers.
- On top of the second parchment paper, place a heavy, oven safe dish with a flat bottom.
- Set the flowers in the oven. After 1 hour, check the flowers and remove any that are dried. Continue baking any flowers that are not yet dried. Baking time can vary with each flower.
Using a Microwave
Time: about 4 minutes
This is the fasted method to press and dry flowers. It works best with brightly colored flowers. We recommend testing a small amount of flowers with this method as some flowers and leaves may turn brown using this method.
- Place your flower in between two pieces of parchment paper or paper towel. Place it on the microwave tray, and place a microwavable plate on top to flatten it.
- Turn the microwave in low heat and let it turn for 60 seconds. Using high heat can cause the flower to overheat and brown.
- Check on the flowers after 60 seconds, then repeat microwaving the flowers using 30 second intervals until they are flat and dry.
- Different flowers may require different amounts of time to dry. Remove any dried flowers and continue the process with other flowers.
- You can use these flowers right away, or set them aside for later use. To store your dry pressed flowers, place the flowers between two pieces of parchment paper or paper towel with a book on top.
Check out how we used microwave-pressed pinecones in this recipe, DIY Fall Scented Pinecones.
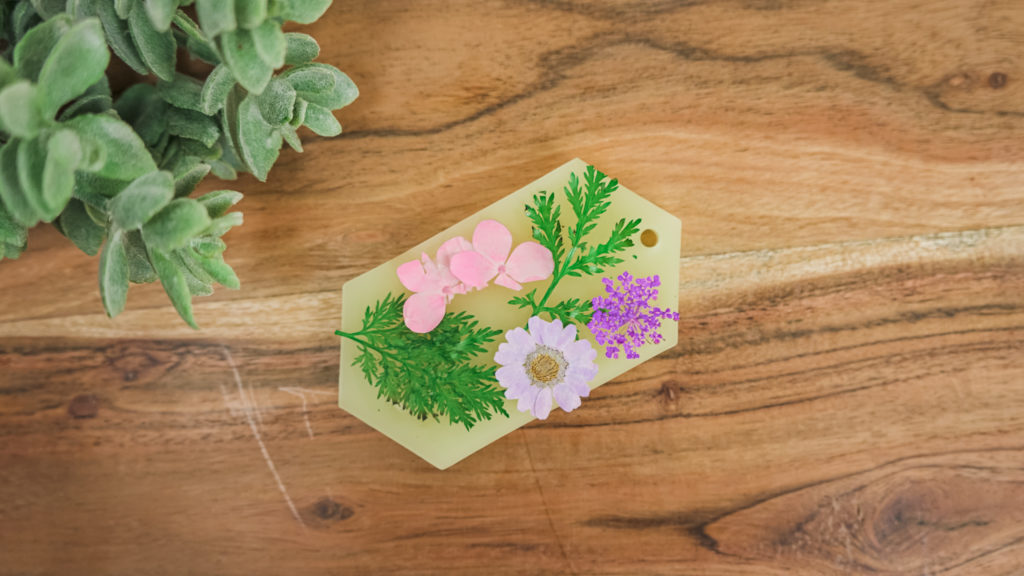
Ways to Use Your Pressed Flowers
There are many ways you can use pressed flowers. Here are some ideas!
- Use them to decorate our wax sachet air freshener recipe.
- Make this votive candle recipe special.
- Use decoupage glue or resin to adhere them to your roll on essential oil bottles.
- Add your pressed flowers to gift tags to make a gift personalized.
What are Your thoughts?
There are so many fun ways to use nature as fun crafts, gifts, and DIY recipes. This is also a great hobby to introduce to your friends. Check out our Toxin-free Magazine for more fun DIY’s.
What project are you going to create next using pressed flowers? We’d love to hear about it on social media with @fromsimplyearth and in the comments below!
To learn more about how to use essential oils, check out our Simply Earth Essential Oil Recipe Box. When you subscribe, we’ll ship you a monthly supply of four 100% pure essential oils, six natural recipes, and all the quality ingredients you’ll need to make your own wonderful products for just $44.99/month. All of these goodies have over $100 value, plus we’ll give you a FREE Big Bonus Box when you subscribe.
Subscribe today to learn how to use essential oils!