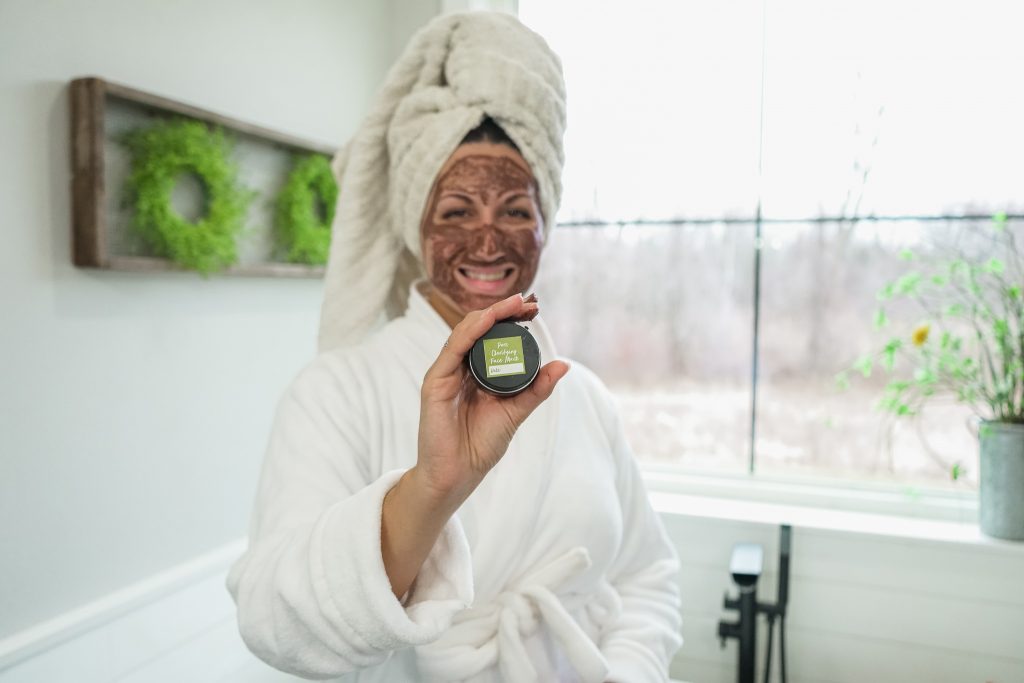
Having clear and healthy skin is something many of us strive to have. But, with all the expensive store-bought face masks out there, it’s easy to forget about one of nature’s oldest beauty treatments: clay facial masks!
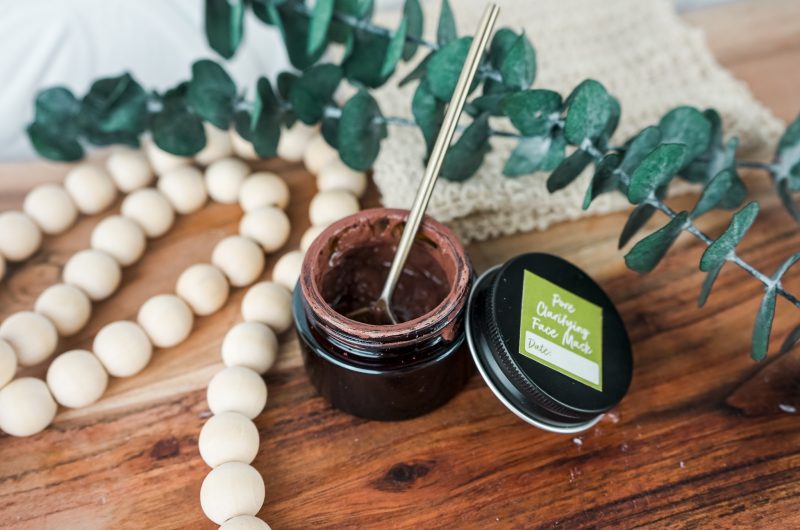
This Pore Clarifying Face Mask can be an enjoyable, cost-effective way to keep your skin looking its best. Not only are they simple to make with all-natural ingredients– they’re also gentle and nourishing on your skin. This post will show you how to make a homemade face mask at home using just four natural ingredients!
What’s in This Homemade Face Mask Recipe?

Rose Kaolin Clay
Rose Kaolin Clay is one of the most commonly used ingredients for creating luxurious homemade clay masks. Whether you want to pamper yourself with a spa-like experience or keep your skin refreshed and radiant, this natural kaolin clay will help restore your complexion to its former glory. Plus, its warm and rich color will boost the pampering aesthetic of your homemade face mask.
Witch Hazel
As a natural astringent, witch hazel is an ideal ingredient in homemade clay masks. It helps minimize the appearance of pores while giving your skin a bright and smooth look! Plus, adding it to your other homemade face mask recipe ingredients is easy! The small effort that goes into prepping the ingredients of this mask will be worth it when your skin reaps all its benefits after application.
Almond Oil
Not only is almond oil known for its soothing properties that moisturize and soften the skin, but it also helps create a protective barrier on the skin when used with other natural ingredients – like clay – that help deeply cleanse. This means your homemade clay mask will be gentle, unlike many harsh masks on the market! Not to mention, almond oil also safely dilutes the essential oil you’ll use in this recipe.
Lemon Eucalyptus Essential Oil
Lemon Eucalyptus Essential Oil is a secret weapon for blemish-banishing and promoting healthy skin. This oil promotes cleanliness in the skin as it freshens and revitalizes your complexion. You’ll also love the way its invigorating aroma stimulates your senses as you let this homemade clay mask work its wonders.

Things To Remember When Using This Recipe

Always dilute an essential oil when using it on the skin. This essential oil recipe is unlikely to cause skin irritation when diluted properly. If the oil has oxidized (been left with the cap off for long periods of time), it is more likely to cause skin irritation. Check out this dilution chart for diluting this essential oil properly.

If you are pregnant, consult your doctor prior to use.

This recipe is safe to use with kids aged 2+.

Cats may find this recipe irritating. For more information on using essential oils with cats, check out this blog post.

This essential oil recipe is generally safe to use around dogs. For more information on using essential oils with dogs, check out this blog post.
We don’t recommend ingesting essential oils unless under the direction of a doctor certified in aromatherapy. For more information on why we don’t ingest essential oils check out this blog post.
*Please note: This post is a compilation of suggestions made by those that have extensively used essential oils and has not been verified scientifically with clinical tests nor reviewed by medical experts. It is anecdotal information and should be treated as such. For serious medical concerns, please consult your doctor. The statements given in this blog post have not been verified by the FDA
Pore Clarifying Face Mask Recipe
How To Make A Homemade Face Mask For Clear Skin
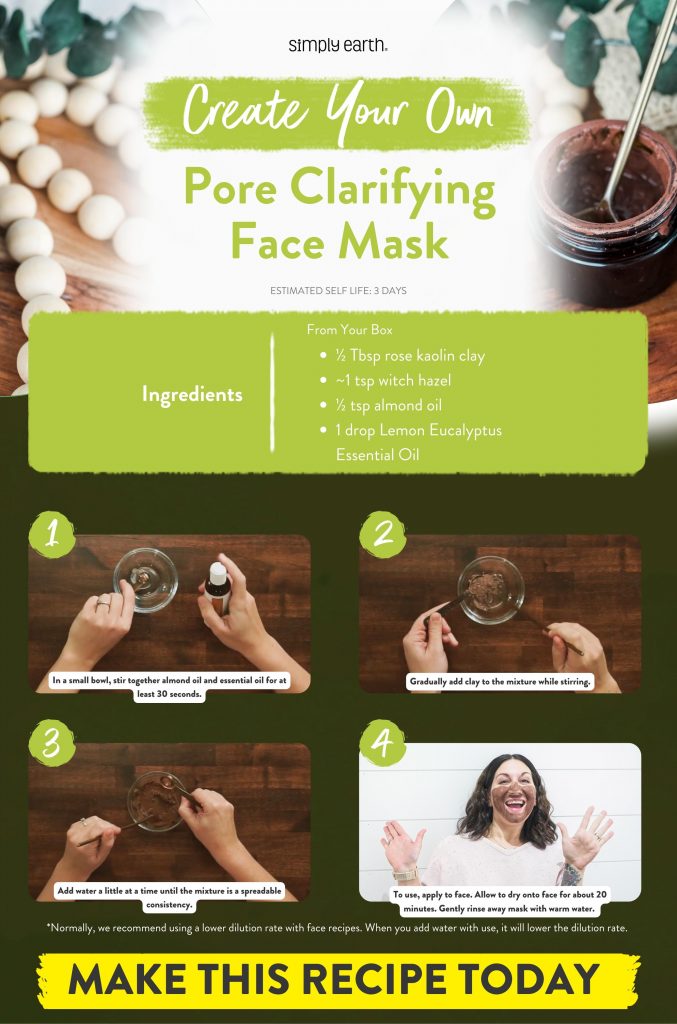
Time: 2 minutes
Est. Shelf Life: 3 days
Yield: 1-2 Face Mask applications
Dilution Rate: ~2%
Ingredients
½ Tbsp rose kaolin clay
~1 tsp witch hazel
½ tsp almond oil
1 drop Lemon Eucalyptus Essential Oil
Directions
- In a small bowl, stir together almond oil and essential oil for at least 30 seconds.
- Gradually add clay to the mixture while stirring.
- Add water a little at a time until the mixture is a spreadable consistency.
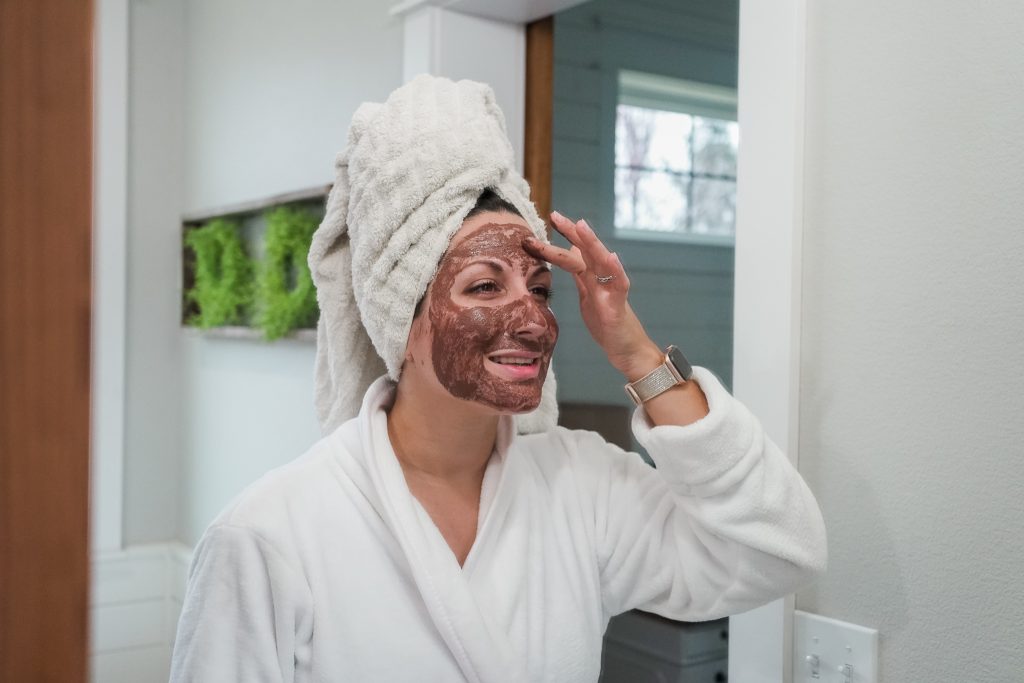
- To use, apply to face. Allow to dry onto face for about 20 minutes. Gently rinse away mask with warm water.
Notes
- Note: Clay masks can leave the skin temporarily red. This typically subsides within 30 minutes.
How to Use Your Clay Face Mask

Once the mixture is ready, spread it on your face and wait up to 20 minutes. Relax while your mask clarifies your skin. Finally, rinse with lukewarm water and apply a moisturizer to lock in all that goodness. Simple as that! Get ready to show off an even healthier and more radiant complexion.


