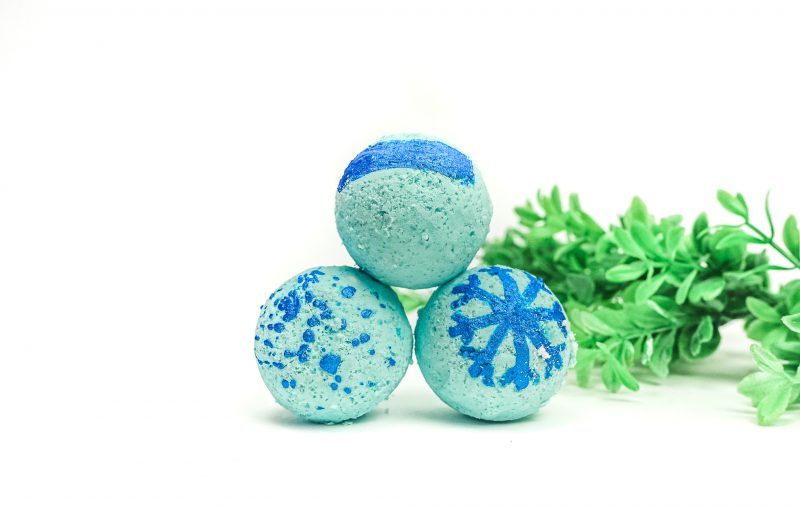
“Let it snow, let it snow, let it snow!”
The weather outside may be frightful, but your skin doesn’t have to be. The bitter winter days can leave skin dry, chapped, or irritated. However, you shouldn’t have to suffer! This simple DIY homemade bath bomb recipe can help soothe and protect your skin all winter. Made with soothing ingredients and essential oils, this Let It Snow Bath Bomb is perfect for calming redness and restoring moisture.
And, since we’ll be using painting techniques for decorating our bath bombs, this makes a fun holiday activity if you spend time with little ones this Christmas!
What I Love About This Homemade Bath Bomb
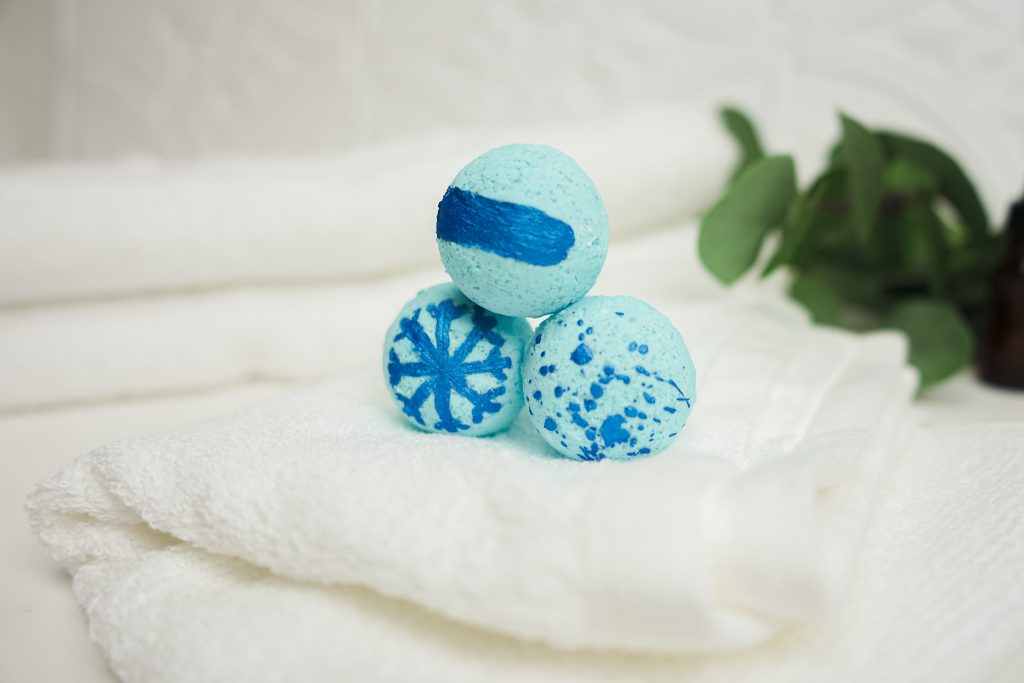
I love how this recipe makes my bath water feel luxurious, look beautiful, and smell amazing. Plus, they’re fun to make! This bath bomb recipe is super easy to follow, resulting in a beautiful, festive product that makes a great Christmas gift.
What’s in the Let It Snow Bath Bomb?
Citric Acid
One of the most crucial ingredients in bath bomb recipes is citric acid. This ingredient gives bath bombs their fizziness, making it an essential component if you want bath bombs to be fizzy.
Almond Oil
Almond oil is more than just a carrier oil for this recipe. It’s also a natural emollient, which means it can help soothe and protect the skin. It’s also packed with antioxidants and essential fatty acids, making it an ideal choice for those who want to improve the appearance of their skin.
Bumps & Boo-Boos Blend
Get an extra boost of benefits in your bath bombs by adding essential oils. Our Bumps and Boo-Boos Blend is specifically designed to promote rejuvenation and soothe skin. Plus, it minimizes the appearance of redness.
Mica Powder
Adding a little bit of sparkle to your bath bomb recipe is easy with mica powder. This natural colorant will give your bombs a beautiful hue, without the use of dyes. The Simply Earth Indigo Blue mica powder is a lovely choice!
Baking Soda
When mixed with other ingredients, baking soda helps create a fizzing reaction that is both fun and relaxing. In addition, the alkalinity of baking soda can help soothe the skin and provide relief from itching.
Corn Starch
Corn starch helps absorb moisture and prevents the formation of clumps. It also gives the bath bomb a smooth, silky texture. So, if you’re looking for a bubbly, foamy bath bomb, corn starch is your friend!
99% Isopropyl Alcohol Or Witch Hazel
The isopropyl alcohol helps moisten the bath bomb mix for it to form clumps and take shape without providing too much moisture and setting off a fizzy reaction.
Paint Brush
The humble paintbrush can be used to create beautiful designs on your bath bombs. The result is a colorful and unique bath bomb that’s sure to please.
Bath Bomb Mold
This aluminum mold is specifically designed for bath bombs. It’s the best way to get perfect results every time – no air bubbles or uneven surfaces, and everything comes out looking smooth and perfect. Plus, it’s reusable, so you can make as many bath bombs as you want!
Things to Remember When Using This Recipe

Always dilute an essential oil when using it on the skin. This essential oil recipe is unlikely to cause skin irritation when diluted properly. If the oil has oxidized (been left with the cap off for long periods of time), it is more likely to cause skin irritation. Check out this dilution chart for diluting this essential oil properly.

If you are pregnant, consult your doctor prior to use.

This recipe is safe to use with kids aged 2+.

Cats may find this recipe irritating. For more information on using essential oils with cats, check out this blog post.

Dogs may find this recipe irritating. For more information on using essential oils with dogs, check out this blog post.
We don’t recommend ingesting essential oils unless under the direction of a doctor certified in aromatherapy. For more information on why we don’t ingest essential oils check out this blog post.
*Please note: This post is a compilation of suggestions made by those that have extensively used essential oils and has not been verified scientifically with clinical tests nor reviewed by medical experts. It is anecdotal information and should be treated as such. For serious medical concerns, please consult your doctor. The statements given in this blog post have not been verified by the FDA
Let It Snow Bath Bomb Recipe
Let It Snow Homemade Bath Bomb Recipe
Time: 10 minutes + dry time
Est. Shelf Life: ~6 months
Yield: 3 mini bath bombs
Dilution Rate: 2%
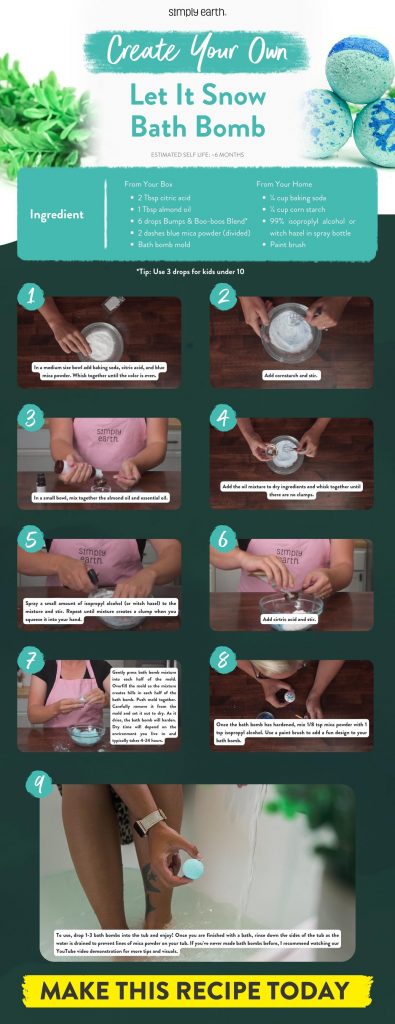
Ingredients
2 Tbsp citric acid
1 Tbsp almond oil
6 drops Bumps & Boo-Boos Blend*
2 dashes of mica powder (divided)
Bath bomb mold
¼ cup baking soda
¼ cup cornstarch
99% isopropyl alcohol or witch hazel in a spray bottle
Paintbrush
Directions
- In a medium-sized bowl, add baking soda, citric acid, and mica powder. Whisk together until the color is even.
- Add cornstarch and stir.
- In a small bowl, mix together the almond oil and essential oil.
Add the oil mixture to the dry ingredients and whisk together until there are no clumps. - Spray a small amount of isopropyl alcohol (or witch hazel) into the mixture and stir. Repeat until the mixture creates a clump when you squeeze it into your hand.
- Add citric acid and stir.
- Gently press the bath bomb mixture into each half of the mold. Overfill the mold so the mixture creates hills in each half of the bath bomb. Push mold together. Carefully remove it from the mold and set it out to dry. As it dries, the bath bomb will harden. Dry time will depend on the environment you live in and typically takes 4-24 hours.
- Once the bath bomb has hardened, mix 1/8 tsp mica powder with 1 tsp isopropyl alcohol. Use a paintbrush to add a fun design to your bath bomb.
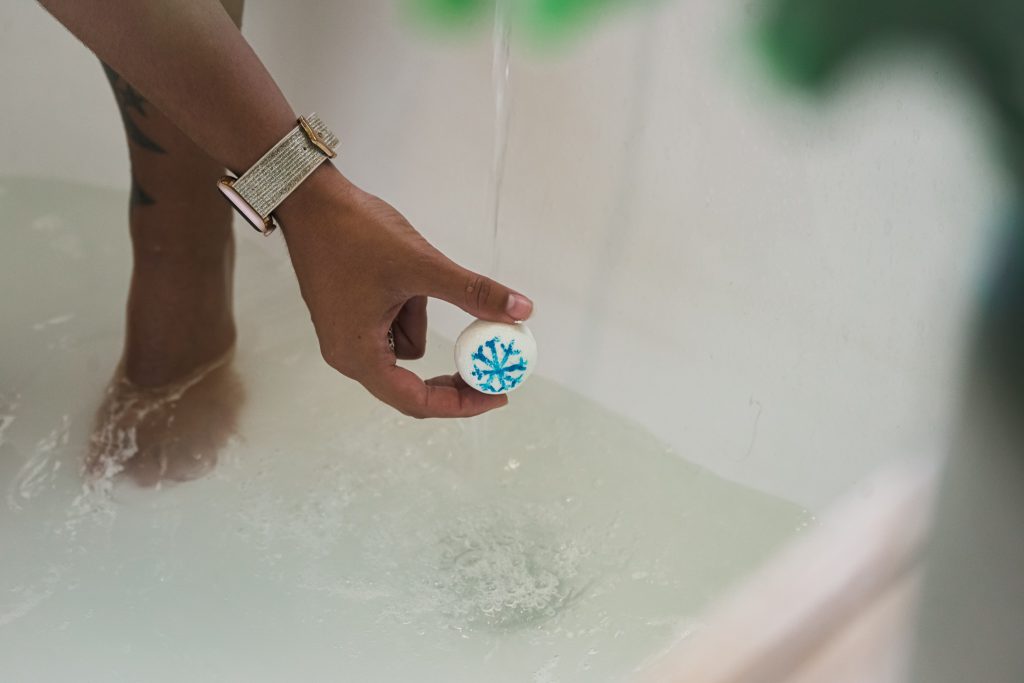
- To use, drop 1-3 bath bombs into the tub and enjoy! Once you are finished with a bath, rinse down the sides of the tub as the water is drained to prevent lines of mica powder on your tub.
Notes
- If you’ve never made bath bombs before, I recommend watching our YouTube video demonstration for more tips and visuals.
- Tip: Use 3 drops for kids under 10
Winter-Perfect Homemade Bath Bomb
So there you have it, a winter-perfect, homemade bath bomb recipe that’s good for your skin. These make great gifts, too – just package them up in a cute bag or box with some ribbon. Be sure to let me know how your’s turn out, and happy crafting! We’d love to see your work on social media with @fromsimplyearth with #imadethis and in the comments below!
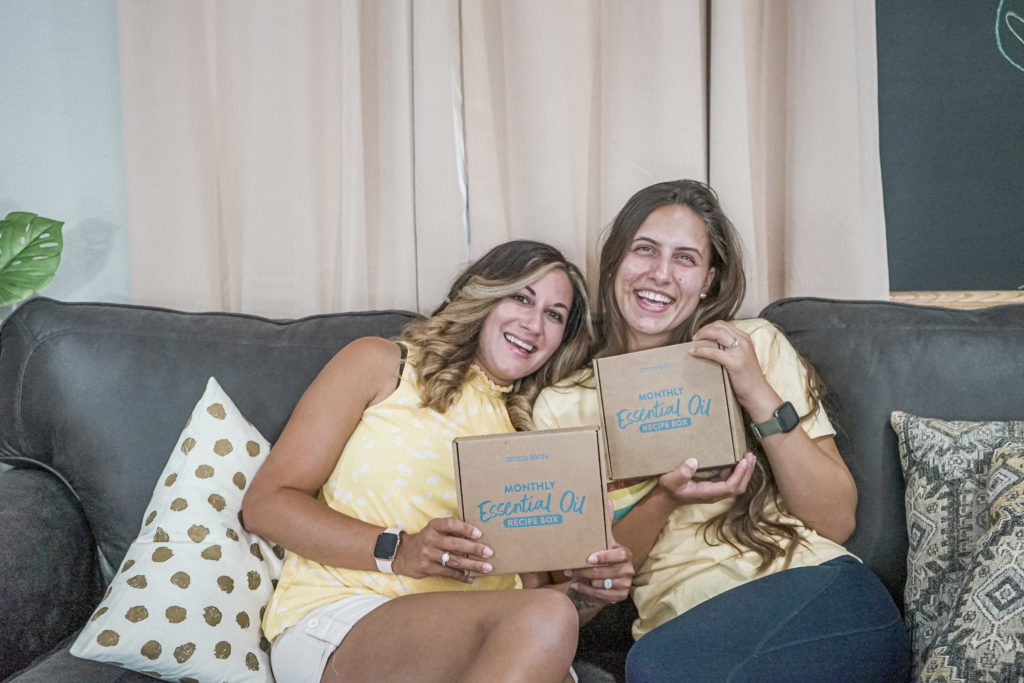
Are you ready to master essential oils? You get FREE access to our Hero Course if you subscribe to our Monthly Essential Oil Recipe Box. With it, you’ll receive 4 Pure Essential Oils, 6 Aromatherapist-Created Recipes, and FREE Essential Oil Recipe Supplies for Life—all delivered directly to your door each month for just $44.99/month. Plus, we’ll give you a FREE Big Bonus Box!
Don’t miss out on the all-natural fun that comes with the Recipe Box; get yours today: Subscribe now to learn how to use essential oils!


