

It’s that time of year again when the holiday season is officially in full swing! What better way to brighten your home and add festive cheer than homemade Christmas ornaments? Not only are these ornaments a perfect way to decorate your home, but they also make wonderful gifts for your loved ones. And if you’re looking for a fun activity to do with the family, making scented ornaments is a great option! With a simple recipe and a few basic materials, you can create beautiful ornaments that smell amazing and bring back memories for years. So gather up your family, turn on some holiday music, and let’s get started!
What’s in This Recipe?
Winter Spice Essential Oil Blend
Enhance your holiday spirit by using Winter Spice Essential Oil Blend, our secret ingredient that creates a wintery, spicy aroma, filling your home with comforting scents. This uplifting blend will transport you to a winter wonderland with just a few drops.
Spearmint Essential Oil
While there are a variety of essential oils you could choose from for your recipe, one that stands out is Spearmint Essential Oil. This oil creates a sweet and minty aroma and is also known for its energizing and calming effects, making it an ideal addition to your Christmas decorations. Imagine twinkling lights and the fresh scent of spearmint filling your home this holiday season – sounds like a recipe for a magical Christmas!
Baking Soda
Baking soda-based dough is easier to work with than salt dough. It also creates a smooth and white surface that is perfect for decorating. Plus, its alkaline nature helps create a stable mold that holds its shape during drying.
Cornstarch
Another key ingredient to include in your recipe is cornstarch. This binding agent and other ingredients like baking soda and water can help create a pliable dough that can be molded into various festive shapes. The beauty of using cornstarch in your ornament recipe is that it allows for precise shaping and leaves a smooth finish once the ornaments have been dried and painted.
Water
One ingredient that’s essential to any homemade ornament recipe is water. Water is necessary to bind the ingredients together, whether creating a simple dough ornament to hang on the tree or a more elaborate piece.

Things to Remember When Using These Ornaments

Always dilute an essential oil when using it on the skin. This essential oil recipe is unlikely to cause skin irritation when diluted properly. If the oil has oxidized (been left with the cap off for long periods of time), it is more likely to cause skin irritation. Check out this dilution chart for diluting this essential oil properly.
If you are pregnant, consult your doctor prior to use.

This recipe is safe to use with kids aged 2+.

Cats may find this recipe irritating. For more information on using essential oils with cats, check out this blog post.

Dogs may find this recipe irritating. For more information on using essential oils with dogs, check out this blog post.
Please note: This post is a compilation of suggestions made by those who have extensively used essential oils and has not been verified scientifically with clinical tests nor reviewed by medical experts. It is anecdotal information and should be treated as such. For serious medical concerns, please consult your doctor. The statements given in this blog post have not been verified by the FDA
Homemade Christmas Ornaments Recipe
Homemade Christmas Ornaments
Time: 10 minutes + cool & dry time
Dilution Rate: na
Estimated Shelf Life: stable
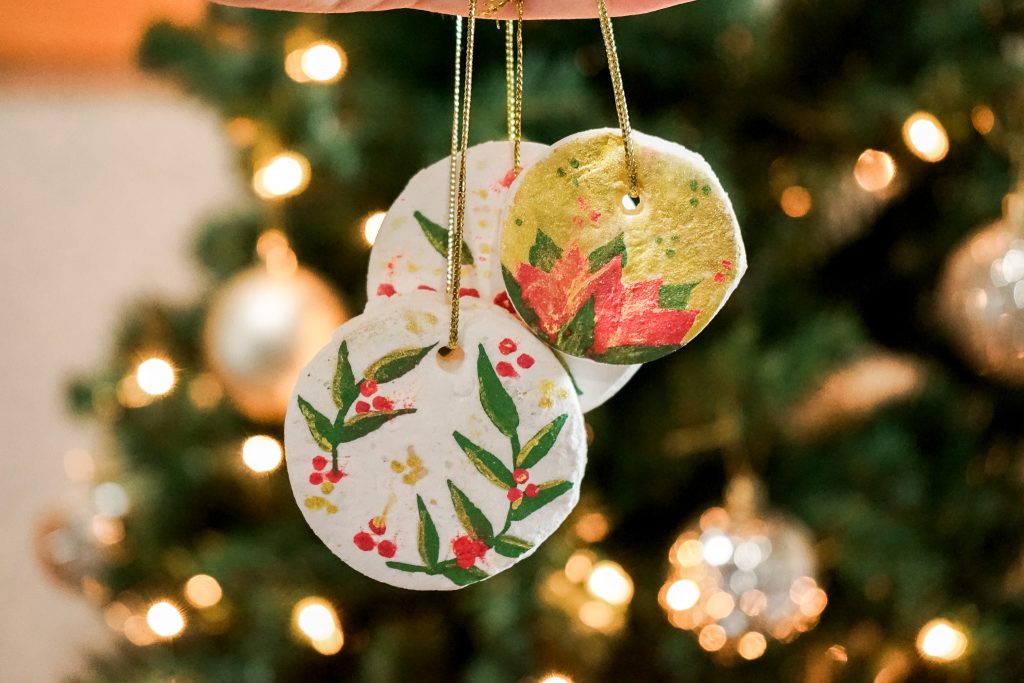
Yield: ~4 ornaments
Ingredients
- FROM YOUR BOX
3 drops Winter Spice Essential Oil Blend
2 drops Spearmint Essential Oil
- FROM YOUR HOME
1 cup baking soda
½ cup cornstarch
½ cup water
String
Cookie cutters, toothpicks, rolling pins, or similar tools
Directions
- Add baking soda, cornstarch, and water to a medium size pot. Mix together.
- Heat the mixture over medium heat, stirring constantly until it starts to thicken (3-5 minutes). Once you reach a consistency that looks like mashed potatoes, remove from the heat. This can happen quickly, so stay by your pot.
- Form the dough into a ball and cover it with a damp cloth. Allow it to cool for 15 minutes, or until it’s cool enough to work with.
- Roll out the dough onto a flat surface. Use cookie cutters or a knife to cut the dough into shapes to create ornaments.
- Using a toothpick, make a small hole near the top of your ornaments.
- Let the ornaments dry for 24 hours, flipping them once to dry out the other side.
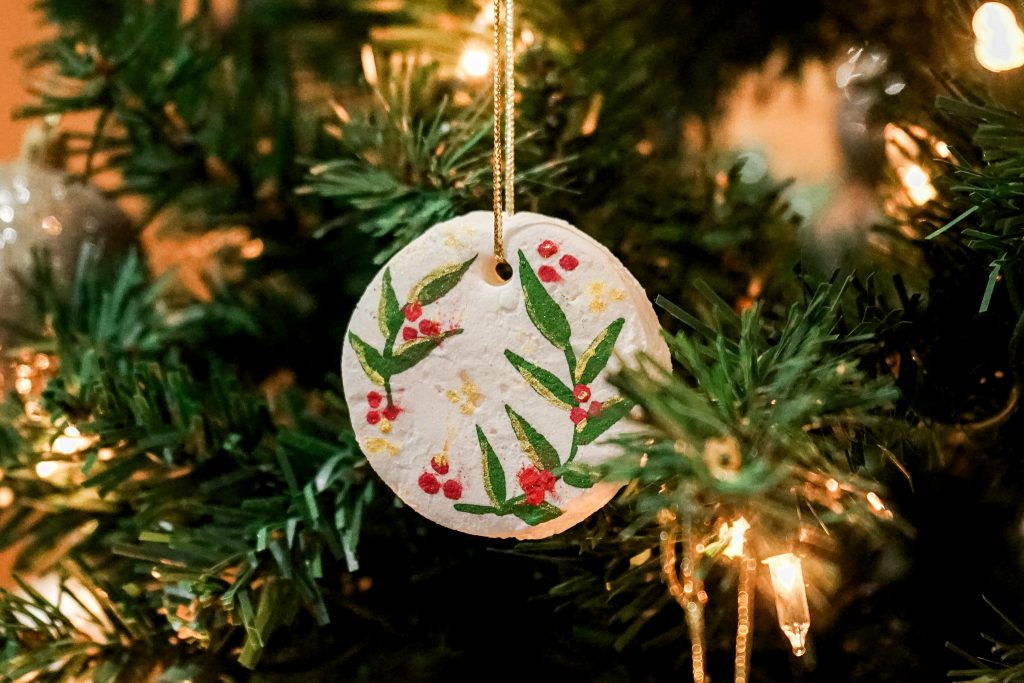
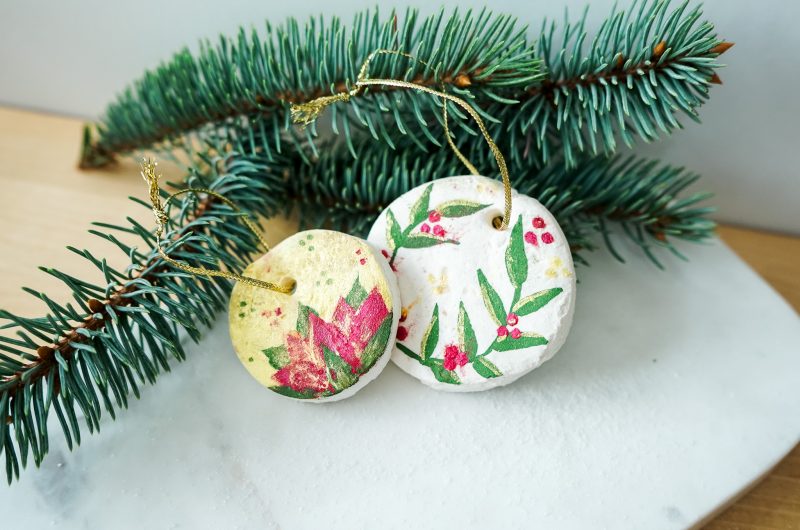
- Decorate the front of your ornaments with paint, stamps, or whatever you’d like.
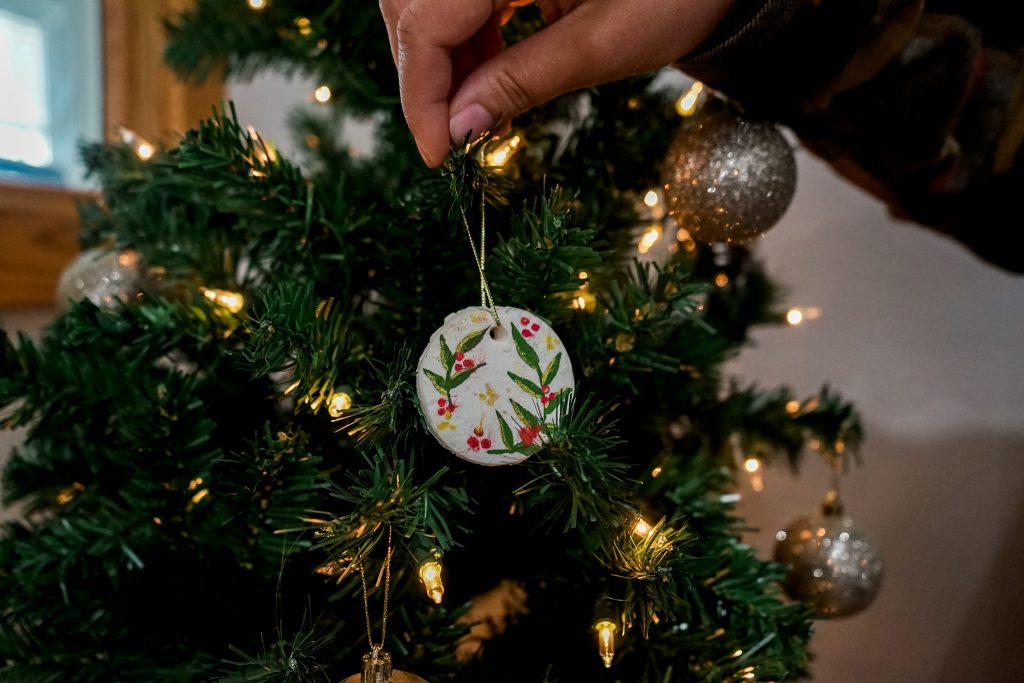
- To use, tie a loop of string through the hole in your ornament to hang it. Add essential oils to the undecorated side of your ornaments for a light aroma. Refresh as needed.
Notes
How to Preserve Dough Ornaments
There’s something special about homemade Christmas ornaments, especially those made from dough. However, over time, these decorations can start to lose their shape or even fall apart. To preserve your dough ornaments, there are a few steps you can take. First, make sure they are completely dry before storing them away. You can speed up the drying process by placing them in a warm, dry area or using a fan. Once dry, you can seal them with a clear varnish to protect them from moisture. Just make sure you leave a spot empty to put your essential oils on. Finally, store them in a cool, dry place away from direct sunlight. By taking these steps, your homemade dough ornaments can last for years, continuing to bring joy to your holiday celebrations.
Tips for Making the Best Salt Dough Ornaments
Knead the Dough Thoroughly
The first step to making the best dough ornaments is to knead the dough thoroughly. Kneading the dough helps make it more pliable and easier to work with, as well as ensuring that all ingredients are evenly distributed throughout the mixture. You can knead the dough by hand or use a stand mixer with a dough hook attachment. Knead until the dough is smooth and elastic before rolling it out.
Cut Out Shapes Carefully
When cutting out shapes from your rolled-out dough, take care not to press too hard with your cookie cutter or knife, as this may cause distortion in your finished ornament shape. Additionally, be sure not to twist or turn your cookie cutter while cutting, as this can also distort the shape of the ornament when baked.
Add Color After Drying
For added color and shine, add food coloring or glitter after drying by painting on top of each ornament with a small paintbrush dipped in food coloring mixed with water or a mixture of glue and glitter, respectively! Allow painted pieces to dry completely before handling for best results!