

Facial cleanser bars are the ultimate game-changer in skincare!
They’re solid, soap-like bars designed to gently cleanse your face without stripping away moisture. Lately, these bars have exploded in popularity—and for good reason! Unlike traditional liquid cleansers, they’re packed with skin-loving ingredients, free from harmful toxins, and super eco-friendly.
By switching to homemade cleanser bars, you can control what goes on your skin, customize them to fit your needs, and even reduce packaging waste. The best part? You don’t need to be a DIY expert to make them. With a few simple steps and the right ingredients, anyone can create luxurious, natural cleanser bars that leave your skin feeling refreshed and radiant. Let’s get started!
Benefits of Using Facial Cleanser Bars
Natural Ingredients: Facial cleanser bars have skin-friendly ingredients like shea butter, essential oils, and natural exfoliants like oatmeal or coffee grounds. They nourish your skin with toxin-free elements for a healthy glow.
Eco-Friendly: Unlike liquid cleansers in plastic bottles, facial cleanser bars use little to no packaging. They help reduce your environmental footprint and support a sustainable planet.
Cost-Effective: Making your cleanser bars is budget-friendly. With a few affordable ingredients, you can create long-lasting bars that save money compared to store-bought options.
Customizable: You can tailor facial cleanser bars to your needs—gentle for sensitive skin, hydrating for dryness, or exfoliating for a deep clean. The options are endless!
Essential Ingredients
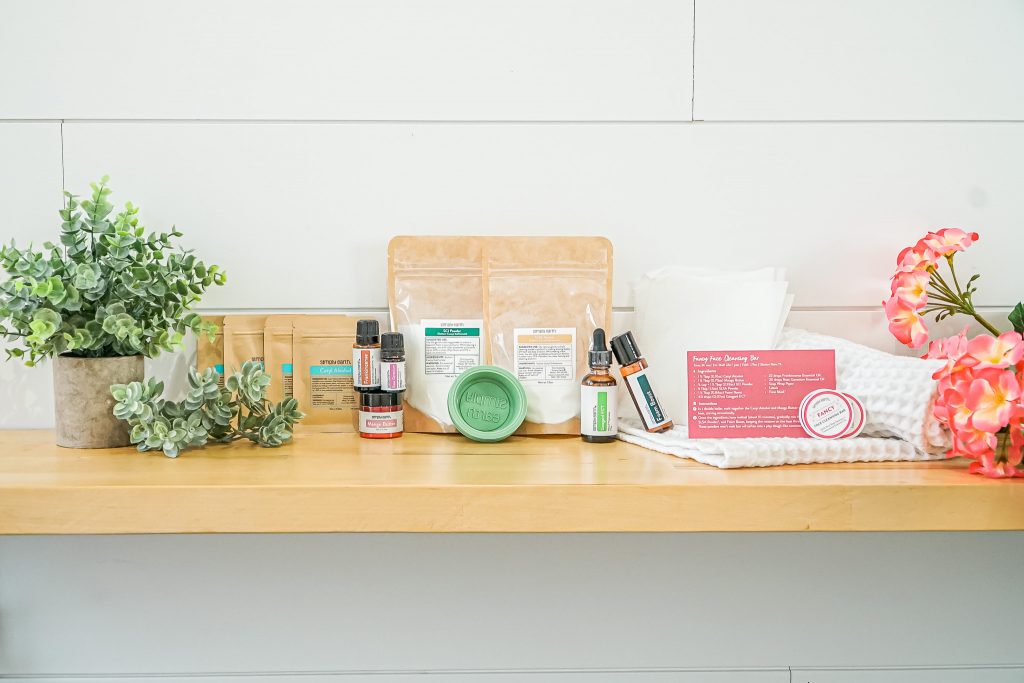
Cetyl Alcohol
Cetyl Alcohol is a gentle skin-softener that helps to smooth and moisturize skin, while also acting as an emulsifier to give your cleanser a creamy, luxurious texture. It leaves your skin feeling soft and nourished without any greasiness.
Butter
Butter is packed with vitamins and fatty acids, it deeply hydrates the skin, locks in moisture, and promotes a radiant, healthy glow. It’s especially beneficial for dry or sensitive skin, providing lasting hydration.
SCI Powder (Sodium Cocoyl Isethionate)
A plant-based, mild surfactant that creates a gentle, foamy lather, making it perfect for all skin types, including sensitive skin. SCI Powder cleanses effectively without stripping your skin of its natural oils.
SLSA Powder (Sodium Lauryl Sulfoacetate)
Derived from coconut and palm oil, this natural foaming agent enhances the cleansing experience by adding abundant soft, luxurious bubbles. SLSA Powder provides a thorough cleanse while being gentle on the skin.
Foam Boost (Cocamidopropyl Betaine)
Foam Boost amplifies the lather, ensuring a rich, bubbly texture that makes cleansing feel indulgent and spa-like. It enhances the overall sensory experience while ensuring effective cleaning.
Geogard ECT Preservative
A natural preservative that keeps your cleanser fresh and safe to use over time. Geogard ECT Preservative prevents the growth of bacteria and mold, ensuring your product remains effective and skin-friendly.
Essential Oils
Add a personal touch to your cleanser with your favorite essential oils. Not only do they provide a delightful custom scent, but they also offer aromatherapy benefits, such as relaxation, invigoration, or stress relief, depending on your choice.
Step-by-Step Instructions

Melt the Base Ingredients
Using a double boiler on medium-low heat, melt the Cetyl Alcohol and Butter together. Stir occasionally to ensure even melting. This process should take approximately 10 minutes.
Add the Surfactant Powders
Gradually mix in the SCI Powder and SLSA Powder while keeping the mixture on the heat. Follow with the Foam Boost. The powders won’t fully melt but will soften, creating a play dough-like consistency. Continue stirring carefully to blend the ingredients well.
Remove From Heat and Add Final Ingredients
Once the powders are incorporated, remove the mixture from the heat. Add your chosen essential oils and the Geogard ECT preservative. Stir thoroughly to ensure all ingredients are evenly distributed throughout the mixture. This step provides both functional and aromatherapy benefits.
Pour Into Molds
Pour the warm mixture into your prepared molds. Press down gently to create solid and even bars. Allow them to set for a few hours until firm enough to handle.
Cure and Harden
Carefully remove the bars from the molds and allow them to dry and harden for 24 hours. This step ensures the bars are solid and ready for use.
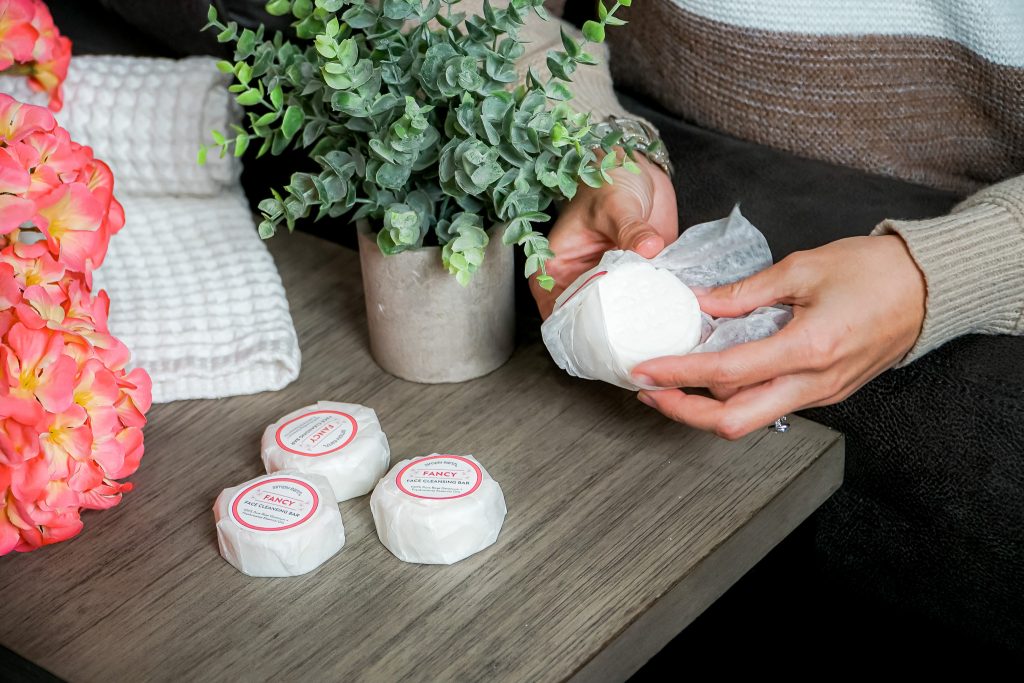
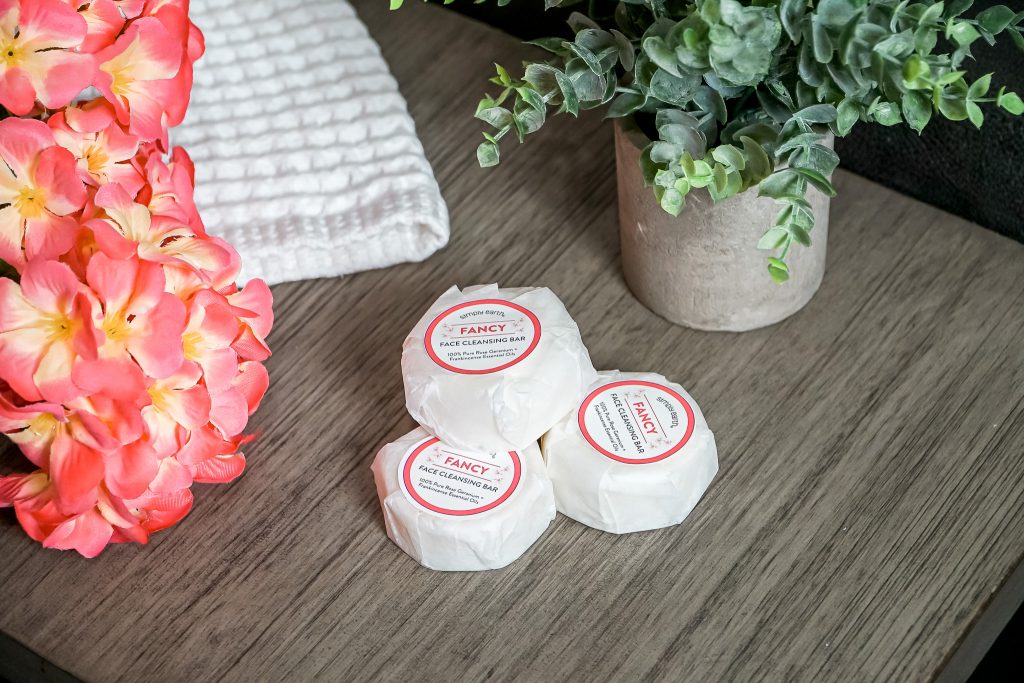
Wrap, Label, and Store
Once thoroughly dried, wrap your bars in paper or plastic, label them with their ingredients and scent, and store them in a cool, dry place to preserve their quality.
Safety Tip: When handling the SLSA and SCI powders, wearing a face mask is recommended to avoid inhaling the powders, as they can irritate your nose or throat. Once the powders are incorporated into the mixture, they are unlikely to become airborne.
How to Use
To use your DIY facial cleanser bar, wet your face with water. Rub the bar gently between your hands or onto a damp washcloth to create a rich lather. Apply the lather to your face, gently massaging it into the skin, then rinse thoroughly with water for a fresh, clean feeling.
Suggestions for Customizing Your Bars

Based on Skin Type
- Dry Skin: Incorporate nourishing ingredients like shea butter and aloe vera to provide extra hydration and soothe dry, flaky skin.
- Oily Skin: Opt for oil-absorbing additions such as bentonite clay and a few drops of tea tree essential oil to balance excess sebum while keeping your skin fresh.
- Sensitive Skin: Use gentle ingredients like rose kaolin clay, which is mild and soothing. Avoid strong scents or essential oils that could irritate delicate skin.
Ideas for Visual Appeal
- Add a pop of color by mixing in natural botanical powders, such as spirulina for a green hue or turmeric for a warm golden tone.
- Create fun shapes using decorative silicone molds—make hearts, flowers, or even themed designs to personalize your bars.
Remember, the beauty of DIY is that it’s all about experimentation! Don’t be afraid to tweak the recipes and make them your own. Customizing your facial cleanser bars lets you create a product that reflects your style and caters perfectly to your unique skincare needs.
Storage & Shelf Life
For optimal storage, ensure your facial cleanser bars stay dry between uses. Place them on a well-drained soap dish or a drying mat to prevent water from pooling around them, which can cause them to soften and dissolve prematurely. Storing the bars in a cool, dry place away from direct sunlight will help maintain their texture and extend their longevity.
If your recipe includes ingredients prone to spoilage or if the bars come into frequent contact with water, incorporating a natural preservative is highly recommended. Preservatives can help guard against microbial growth, ensuring your bars remain safe and effective.
Under the right storage conditions and with proper care, these homemade facial cleanser bars typically have a shelf life of up to 12 months. Just keep an eye on them for any changes in smell, texture, or appearance that might indicate the need to replace them sooner.
Wrapping It Up

Creating your own DIY facial cleanser bars is more than just a skincare endeavor—it’s a fulfilling and creative process that puts you in control of the ingredients you use on your skin. By starting small and experimenting with different recipes or natural add-ins, you can craft a cleanser perfectly tailored to your needs while indulging in self-care. The joy of making something truly your own and knowing precisely what’s going into it is unmatched!
We encourage you to share your beautiful creations on social media using the hashtag #IMadeThis—we’d love to see what you’ve made! Questions or need extra guidance? Drop your thoughts and queries in the comments below, and we’ll gladly help.
For everything you need to know about crafting natural skincare, download The Ultimate Guide to Natural DIY Skincare for free! Looking for even more inspiration? Subscribe to our Simply Earth Recipe Box to discover fresh DIY projects and recipes every month. And to make your start even easier, purchase our DIY Natural Face Cleansers Kit for everything you need to get started. Start your DIY skincare adventure today—your skin (and creativity) will thank you!