

We at Simply Earth love all things handmade! Plus, you probably have everything you need to make this recipe already in your kitchen!
Handmade gifts are so fun to receive — whether it’s a personal care item, something for the kids, something for the pets, or home decorations.
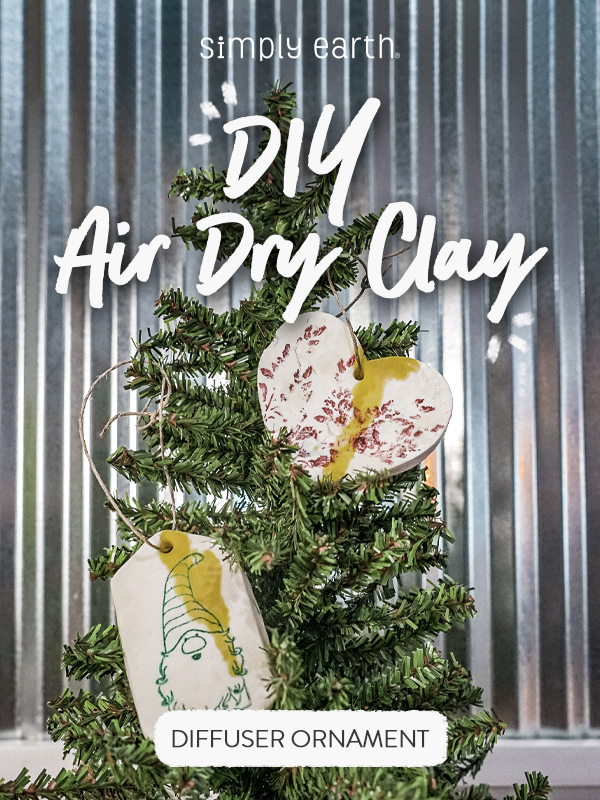
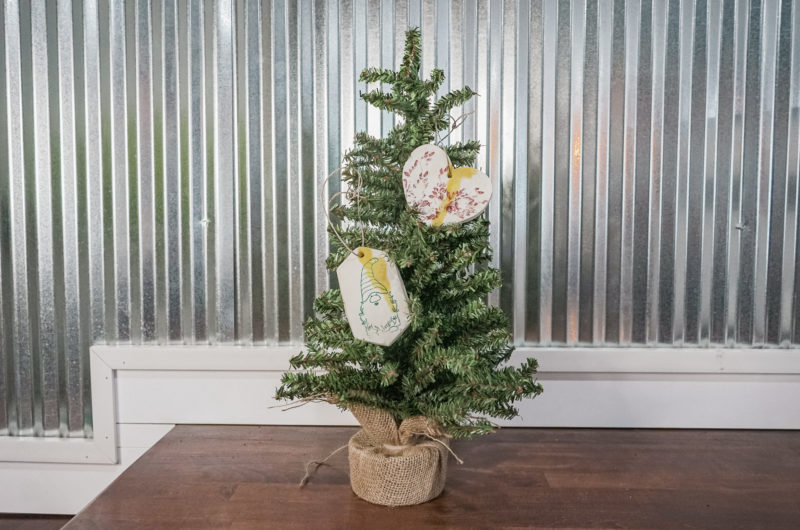
If you love making your own products, then you’ll also love this Clay Diffuser Ornament with essential oils. Not only does this recipe serve as a natural diffuser, but you can decorate your home and Christmas tree with them! This is also a great recipe to make with your kids or grandkids.
What I Love About This Clay Diffuser Recipe
I love how fun this recipe is to make. The kids had so much fun molding and decorating the dough. Not only is the final product useful in making our home smell fresh, but the whole process of making it is also so enjoyable.
I grew up making salt dough ornaments. What I love about this recipe is that the DIY clay dries white! It’s so clean and beautiful.
What’s in This Clay Ornament Diffuser Recipe?
Baking Soda
Baking soda is commonly used for air dry clays. It provides less shrinking while drying and gives the clay a nice white, matte finish that looks amazing when decorated and painted.
Cornstarch
The ultimate pair of baking soda in clay ornament DIYs is Cornstarch. It helps the clay keep its shape and form!
Water
Water combines all the dry ingredients and helps form a clay-like consistency for this recipe.
Ribbon or String
Use ribbon or string to hang your essential oil-scented clay ornament! Make sure the string you’ll use matches the design of your clay.
Lime Essential Oil
Lime Essential Oil has a lovely fresh, citrusy, sweet aroma that everybody loves. Its invigorating smell invokes alertness that can be especially helpful during the busy days of the holiday season.
Cassia Essential Oil
We added Cassia Essential Oil to this recipe to give it a little spice. Cassia is a top note oil and has a spicy, slightly woody, cinnamon-like scent. It neutralizes the blend and provides a sense of calm to the recipe.
Things to Remember When Using This Clay Diffuser

Always dilute an essential oil when using it on the skin. This essential oil recipe is unlikely to cause skin irritation when diluted properly. If the oil has oxidized (been left with the cap off for long periods of time), it is more likely to cause skin irritation. Check out this dilution chart for diluting this essential oil properly.
This essential oil recipe is not generally safe to use if you are pregnant. Consult your doctor prior to use.

This essential oil recipe is safe to use with kids aged 10+.

Cats may find this recipe irritating. For more information on using essential oils with cats, check out this blog post.

Dogs may find this recipe irritating. For more information on using essential oils with dogs, check out this blog post.
We don’t recommend ingesting essential oils unless under the direction of a doctor certified in aromatherapy. For more information on why we don’t ingest essential oils check out this blog post.
*Please note: This post is a compilation of suggestions made by those that have extensively used essential oils and has not been verified scientifically with clinical tests nor reviewed by medical experts. It is anecdotal information and should be treated as such. For serious medical concerns, please consult your doctor. The statements given in this blog post have not been verified by the FDA
Clay Ornament Diffuser Recipe
Essential Oil Clay Diffuser Ornament Recipe
Ingredients
1 cup baking soda
½ cup cornstarch
½ cup water
Cookie mold, toothpick, rolling pin, or similar tools (optional)
Ribbon or string
2 drops Lime Essential Oil
1 drop Cassia Essential Oil
Directions
- Place baking soda, cornstarch, and water in a pan and heat over medium heat while continuously stirring.
- Continue stirring while on the heat until the mixture becomes thick and can form a ball.
- Allow the dough to cool in the pan until it’s safe to handle but still warm.
- Remove dough from the pan and wrap it in a damp cloth and allow it to cool.
- Roll out the dough. Cut and mold into your desired shapes. Use a toothpick (or similar item) to create a small hole for hanging.
- Allow the dough to totally dry. Dry time will depend on the size and thickness of your ornament; expect at least 24 hours. If the dough dries too quickly, it will crack. If you are in a hot and dry climate, place a damp cloth over your creations to slow down the drying time.
- Once the dough is dry, feel free to embellish your ornament with paint, stamps, or other materials. Add essential oils; allow them to absorb into the clay then tie a string through the hole and hang where desired. Essential oils may disrupt paint and discolor the clay, so plan your decorations accordingly.
Notes
- Tip: You can use this dough with molds. Line the mold with fractionated coconut oil then allow the clay to totally dry inside the mold before removing.
Definitely A Show-Stopping Holiday Ornament!
Make holiday ornaments that look good and smell even better! Are you going to make this for yourself or as a gift to your loved ones? Maybe both? We’d love to hear about it on social media with @fromsimplyearth and in the comments below!
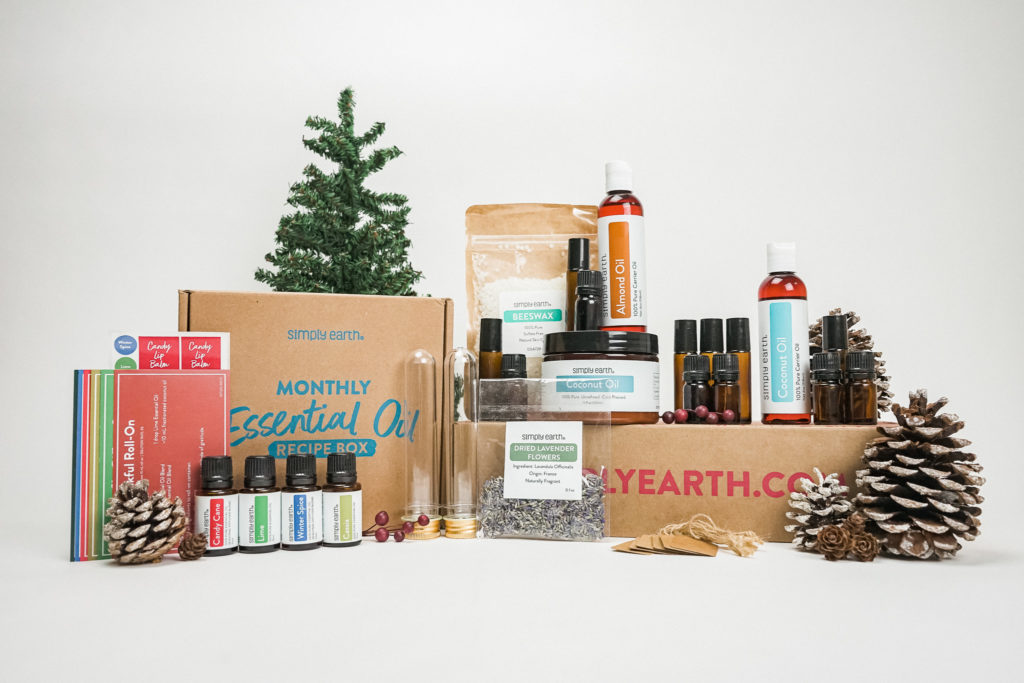
To learn more about how to use essential oils, check out our Simply Earth Essential Oil Recipe Box. When you subscribe, we’ll ship you a monthly supply of four 100% pure essential oils, six natural recipes like this clay diffuser recipe, and all the quality ingredients you’ll need to make your own wonderful products for just $44.99/month. All of these goodies have over $100 value, plus we’ll give you a FREE Big Bonus Box when you subscribe.
Subscribe today to learn how to use essential oils!