

Are you looking to make the switch to natural hair care products?
Making your own shampoo and conditioner bars is a fun and eco-friendly way to treat your hair with nourishing, chemical-free ingredients. In this guide, we’ll walk you through easy-to-follow steps for crafting your own shampoo and conditioner bars using simple, natural ingredients that you can trust. Whether you’re a DIY newbie or a seasoned crafter, these bars will leave your hair feeling fresh, soft, and naturally beautiful.
Why Make Your Own Shampoo & Conditioner Bars?

Natural & Nourishing Ingredients: By making your own shampoo and conditioner bars, you can control exactly what goes into your hair care routine. Skip the synthetic chemicals and embrace nourishing, plant-based ingredients like essential oils, natural clays, and carrier oils.
Eco-Friendly: Shampoo and conditioner bars are solid, which means no plastic bottles to toss! These bars are also biodegradable, making them an environmentally-friendly choice.
Customizable: You can tailor your bars to your specific hair needs by choosing different essential oils and additives based on your hair type.
Ingredients You’ll Need:
For Shampoo Bars:
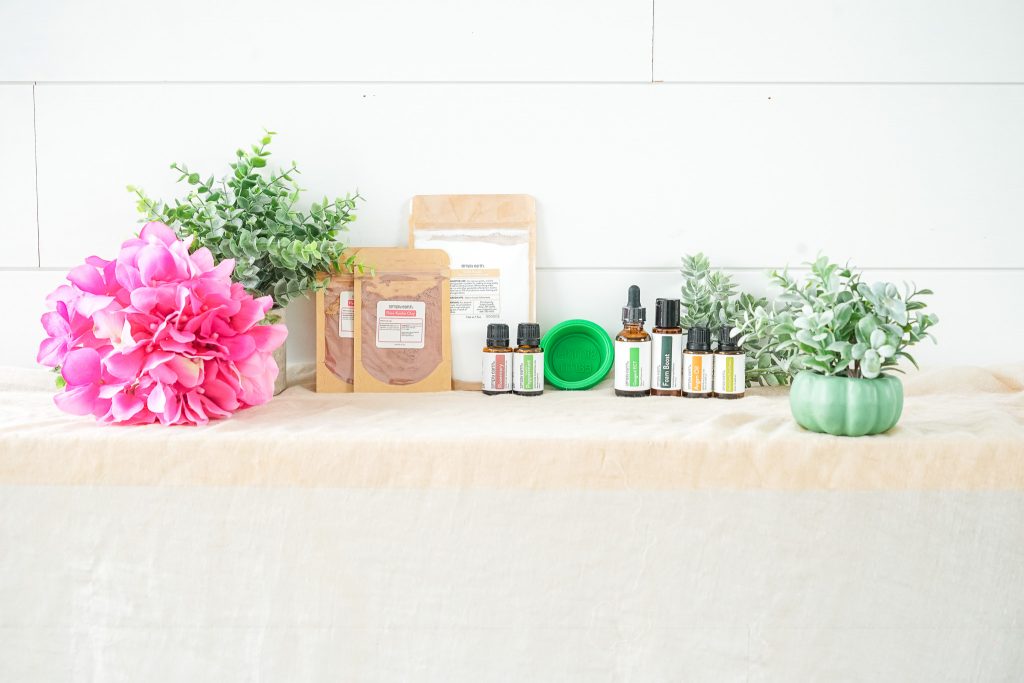
Surfactants (e.g., SCI Powder, SLSA Powder): These gentle cleansers help your shampoo bar create a lather that cleanses without stripping natural oils.
Clays (e.g., Kaolin Clay, Bentonite Clay): Natural clays can help to detoxify the scalp, absorb excess oil, and balance hair texture.
Essential Oils: Choose your favorite essential oils (e.g., peppermint, rosemary) for a natural fragrance and scalp benefits.
Carrier Oils: Carrier oils like argan oil or jojoba oil help moisturize your hair while preventing dryness.
Preservatives (optional, but recommended for wet bars): A natural preservative, like Geogard ECT, can help keep your bars fresh for longer.
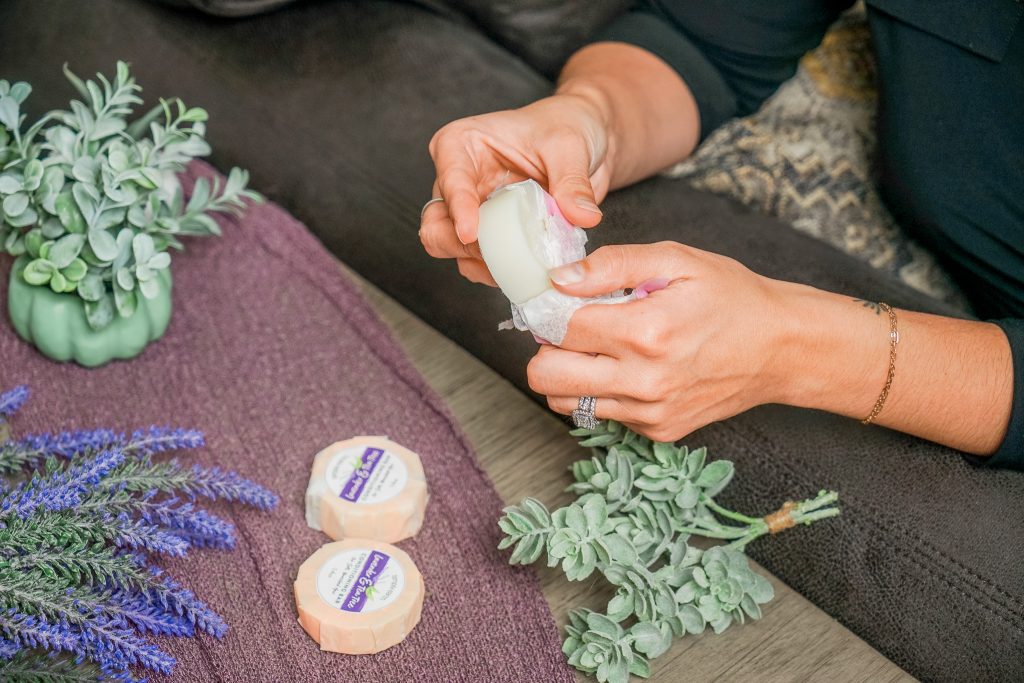
Soap Molds, Soap Wraps, and Labels: For molding, packaging, and labeling.
For Conditioner Bars:
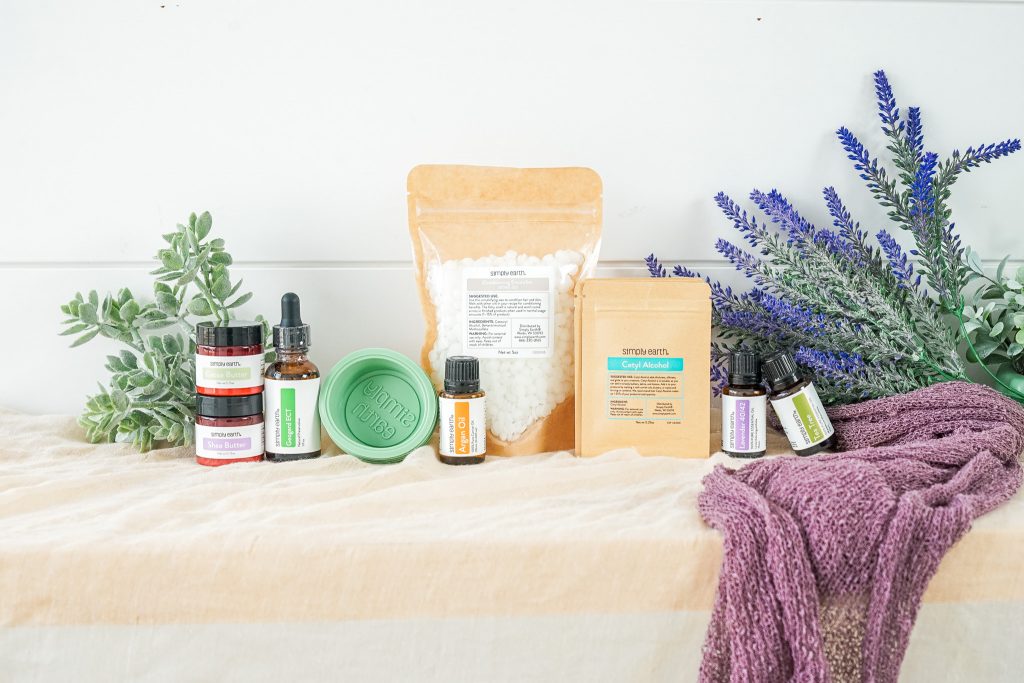
Conditioning Emulsifier (e.g., BTMS-50): Helps create a smooth, moisturizing conditioner.
Cetyl Alcohol: A fatty alcohol that thickens and emulsifies the conditioner.
Butters (e.g., Shea Butter, Cocoa Butter): Rich in nutrients and helps nourish and hydrate your hair.
Carrier oils (e.g., argan oil): Provides moisture and shine to your hair.
Essential Oils (e.g., Lavender, Tea Tree): Customizable for fragrance and hair/scalp benefits.
Preservative (e.g., Geogard ECT): Keeps your conditioner bars fresh.
Soap Molds, Soap Wraps, and Labels: For molding, packaging, and labeling.
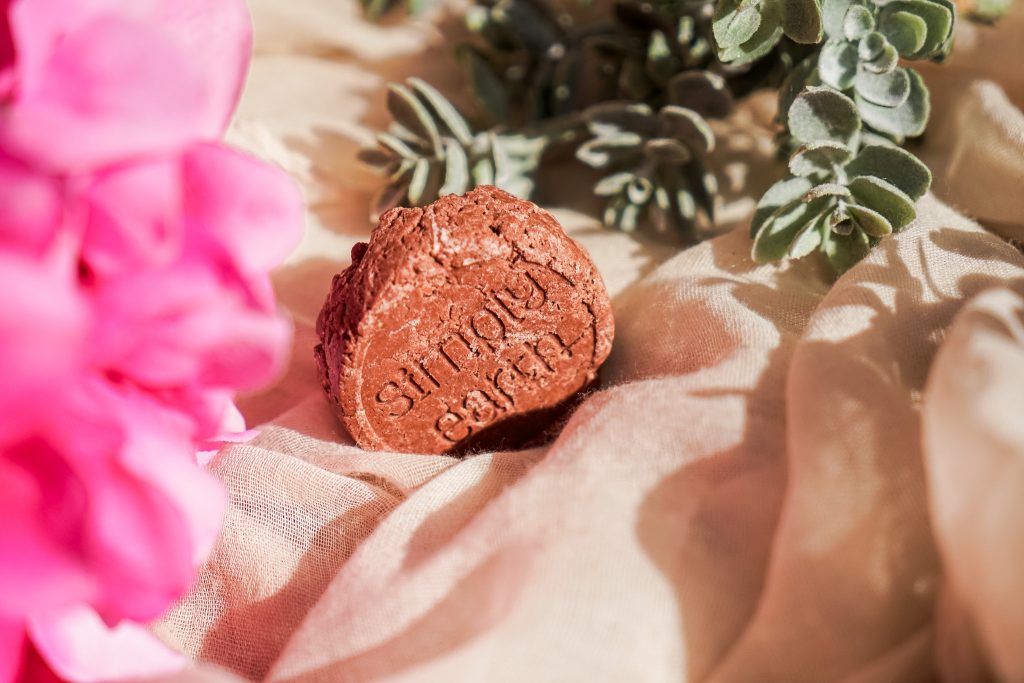
Step-by-Step Instructions for Making Shampoo Bars:
-
Mix the Dry Ingredients:
- Combine surfactants like SCI Powder and SLSA Powder, along with a clay (like Kaolin) and cornstarch. Stir until well blended.
-
Prepare the Wet Ingredients:
- In a separate container, combine carrier oils (e.g., argan oil), essential oils (e.g., rosemary or peppermint), and preservative. Stir until fully blended.
-
Combine the Mixtures:
- Slowly add the wet mixture to the dry mixture. Stir until a dough-like consistency forms. Use your hands to knead and ensure everything is evenly incorporated.
-
Mold the Shampoo Bars:
- Press the mixture into silicone molds, making sure it’s compact. Refrigerate for a few hours until solid.
-
Dry & Package:
- Once set, remove the bars from the molds and allow them to dry for 2-3 days. Package them in soap wraps with labels for easy storage and use.
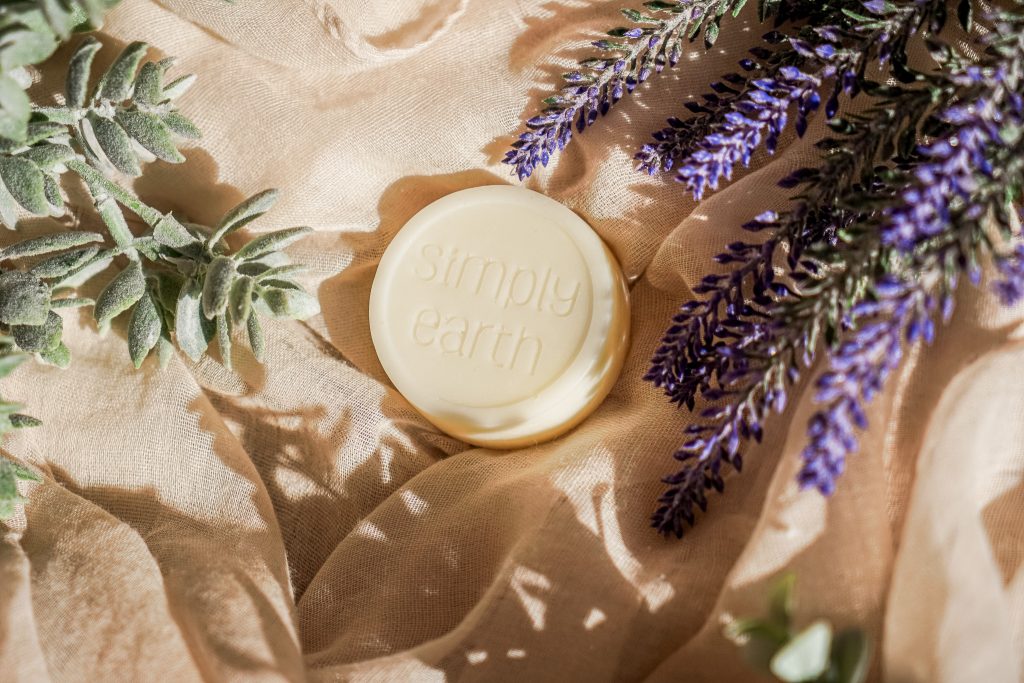
Step-by-Step Instructions for Making Conditioner Bars:
- Melt the Ingredients:
- In a double boiler or microwave-safe container, melt the Conditioning Emulsifier, Cetyl Alcohol, Shea Butter, Cocoa Butter, and Argan Oil together. Heat to around 160°F, stirring occasionally. Once fully melted, remove from heat.
- Cool the Mixture:
- Allow the mixture to cool until it’s about to solidify (around 135°F) before adding the essential oils (e.g., lavender, tea tree) and preservative. Thoroughly mix.
- Pour Into Molds:
- Divide and pour the mixture into the molds, ensuring it’s evenly distributed. Let the mixture cool and harden completely.
- Package:
- Once solidified, remove the conditioner bars from the molds. Wrap them in the provided wraps, securing them with tape. Attach the labels.
Tips & Customizations for Your Bars
Essential Oils: Choose oils based on your hair’s needs. For example, peppermint is great for stimulating the scalp, while lavender is soothing and calming.
Clays & Additives: Add more clay if you have oily hair, or mix in some rice protein to strengthen and nourish dry, brittle hair.
Adjust Consistency: If your conditioner bars are too thick or thin, adjust the amount of wax or emulsifier. If shampoo bars are crumbly, keep mixing until you achieve a dough-like consistency.
Conditioner Bar Uses: This Conditioner Bar also works as a moisturizing body bar and can be used for shaving as well!
Coloring: If you want to color your Conditioner Bar, just add a little mica powder of your choice during step 2.
How to Use Your DIY Shampoo & Conditioner Bars
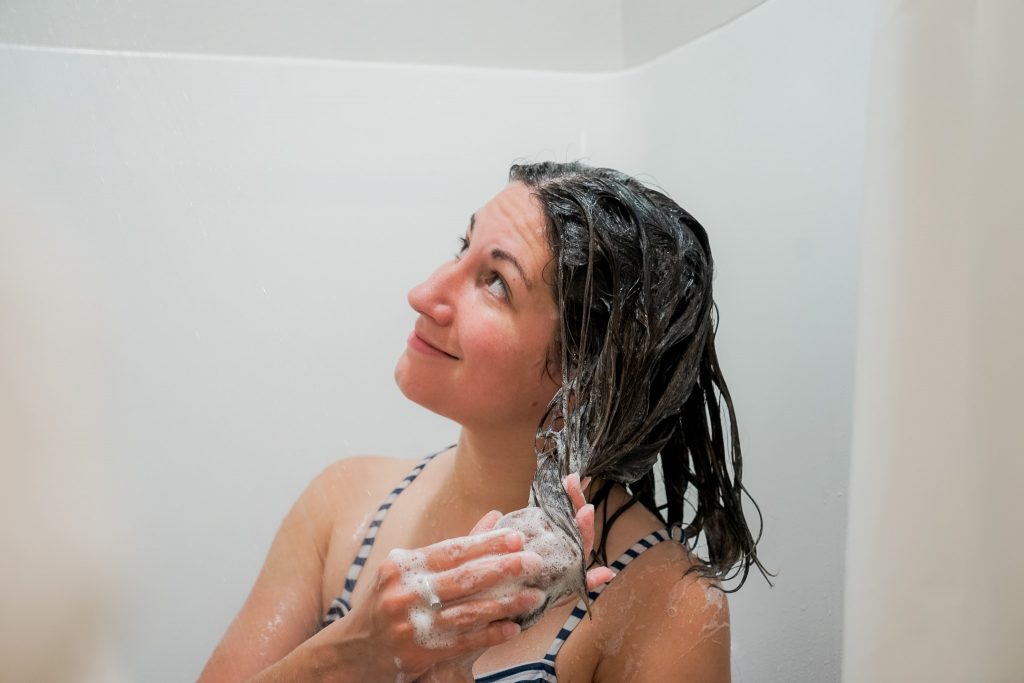
Shampoo Bars: Wet your hair, then rub the shampoo bar between your hands to create lather. Massage the lather into your scalp and hair, then rinse thoroughly. Store your bar in a soap dish to allow it to dry between uses.
Conditioner Bars: After shampooing, apply the conditioner bar directly to your hair, focusing on the ends. Leave it in for a few minutes, then rinse thoroughly. You can also use the conditioner as a leave-in treatment if your hair needs extra moisture.
Ready to Dive into DIY Hair Care?
Making your own shampoo and conditioner bars is an easy, fun, and rewarding way to ensure your hair care routine is all-natural and free from harmful chemicals. By following this simple guide, you can create custom bars tailored to your hair’s needs while enjoying the satisfaction of DIY beauty. Plus, with every use, you’ll be treating your hair with ingredients you trust!
If you’re excited to create your own shampoo and conditioner bars, we’ve got you covered. Download our free DIY Natural Hair Care Guide for even more tips and tricks! Plus, get everything you need to get started with our DIY Conditioner Bars Kit and DIY Shampoo Bars Kit—both packed with the ingredients and tools for your first batch.
Want to get creative and make it your own? Head to SimplyEarth.com to grab the ingredients you want and customize your perfect bars.
And if you’re looking for a new DIY project every month, subscribe to the Simply Earth Recipe Box for themed recipes and DIY ideas you can make at home.
What are your favorite DIY hair care recipes? Share with us in the comments below!