Have you ever dreamed of making your luxurious skincare products at home?
Crafting lotions and creams is easier than you think—and so much fun! Imagine opening your drawers to find a product that’s not only custom-made for your skin but also infused with the scents and textures you love. The first lotion I whipped smelled so divine that my friends couldn’t believe I hadn’t splurged at a boutique shop. They were hooked—and so was I.
In this post, we’ll uncover the amazing benefits of DIY skincare and guide you step-by-step through crafting your velvety lotions and creams.
Stick around—by the end of this guide, you’ll be ready to create personalized skincare products that nourish your skin and spark joy in your daily routine! 🎉✨
What’s The Difference Between Lotions and Creams?
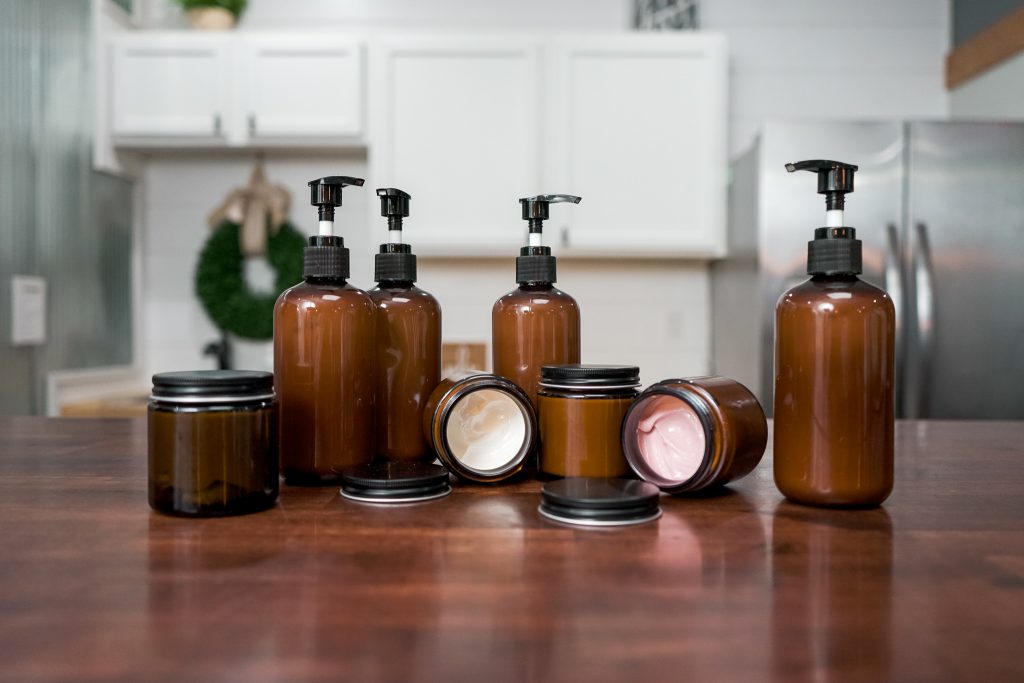
Lotions and creams are essential skincare products that help nourish and hydrate your skin. Both are made by blending oils and water, often with natural ingredients and essential oils to boost their benefits. However, the key difference lies in their consistency. Lotions are lighter, contain more water, and are easy to spread across large areas of the skin, making them perfect for everyday use. Conversely, creams are thicker, richer, and have less water content, making them ideal for targeted hydration, especially on dry or sensitive skin. Understanding this distinction can help you choose the right product for your skincare needs!
Step-by-Step Guide to Making Lotions and Creams
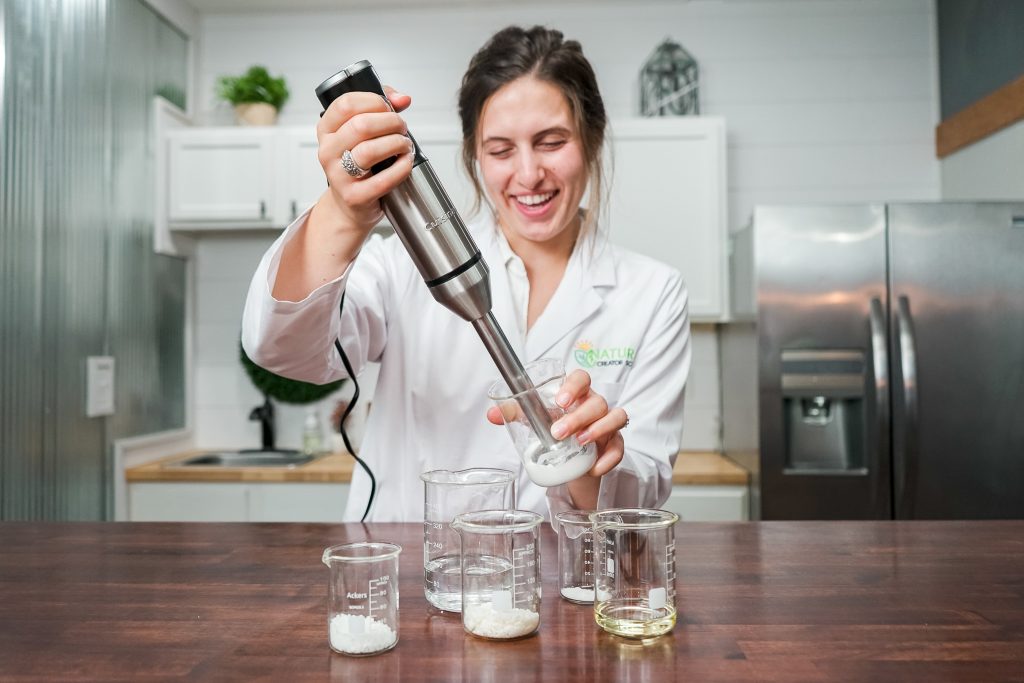
Begin by preparing two separate mixtures: the oil phase and the water phase. The water phase includes ingredients like hydrosols and glycerin. In contrast, the oil phase consists of carrier oils (such as almond oil), butter (like cocoa butter), and an emulsifier to bind the two phases together.
Heat both mixtures to around 155°F (68°C) until the oil phase melts. Alternate between heating and cooling to ensure both phases are at similar temperatures.
Combine the two phases using an immersion blender. Start by stirring the water phase, then slowly add the oil phase while blending. Continue blending until the oils and water are just combined.
Allow the lotion to cool while stirring by hand to prevent over-mixing. Use an ice bath to speed up the cooling process. The mixture will start runny but will thicken to a pudding-like texture as it cools (remember, it’s not for eating!).
Add essential oils and preservatives once the lotion cools. Mix them into a small portion of the lotion first, then incorporate this back into the rest of the batch. Your lotion is now ready to be transferred into containers. It will thicken slightly over 24 hours to reach its final consistency.
Creative Tips for Personalization
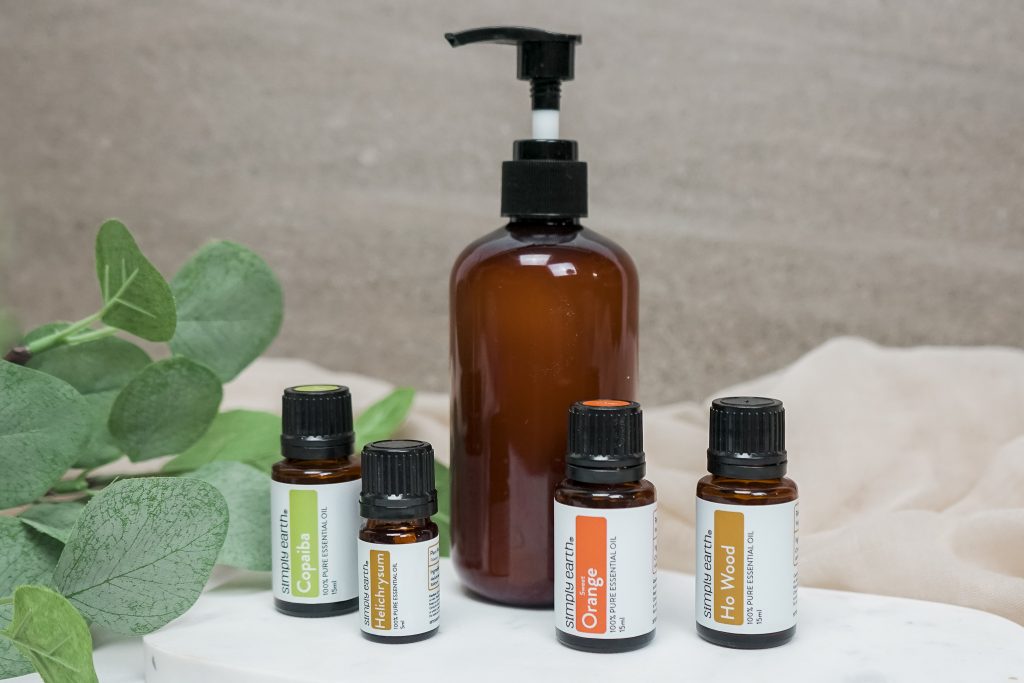
One of the joys of making your lotion is the ability to create unique scent combinations tailored to your preferences or the recipient’s tastes. Essential oils are the perfect way to infuse your lotion with personality and purpose. For a calming and relaxing lotion, consider adding Lavender Essential Oil. Its soothing scent is perfect for bedtime routines or moments of stress relief. If you’re looking for an energizing boost, Peppermint Essential Oil offers a refreshing and invigorating aroma. Citrus oils like orange or lemon are fantastic for creating uplifting, cheerful blends, while woodsy oils like cedarwood or sandalwood offer grounding and earthy undertones. Experiment by blending complementary oils for a signature fragrance that stands out.
When it comes to packaging your homemade lotions as gifts, presentation is key! Use small, reusable glass jars or pump bottles, and label them with creative tags that list the ingredients and scent. For a natural, handmade touch, you can decorate the containers with ribbons, twine, or even dried flowers. For an extra special gift, consider grouping lotions in themed sets—such as a “Relaxation Set” with lavender and chamomile or an “Energy Boost Duo” featuring peppermint and citrus. With thoughtful customization and beautiful packaging, your lotion creations will impress and delight any recipient.
Benefits of Making Your Lotions and Creams
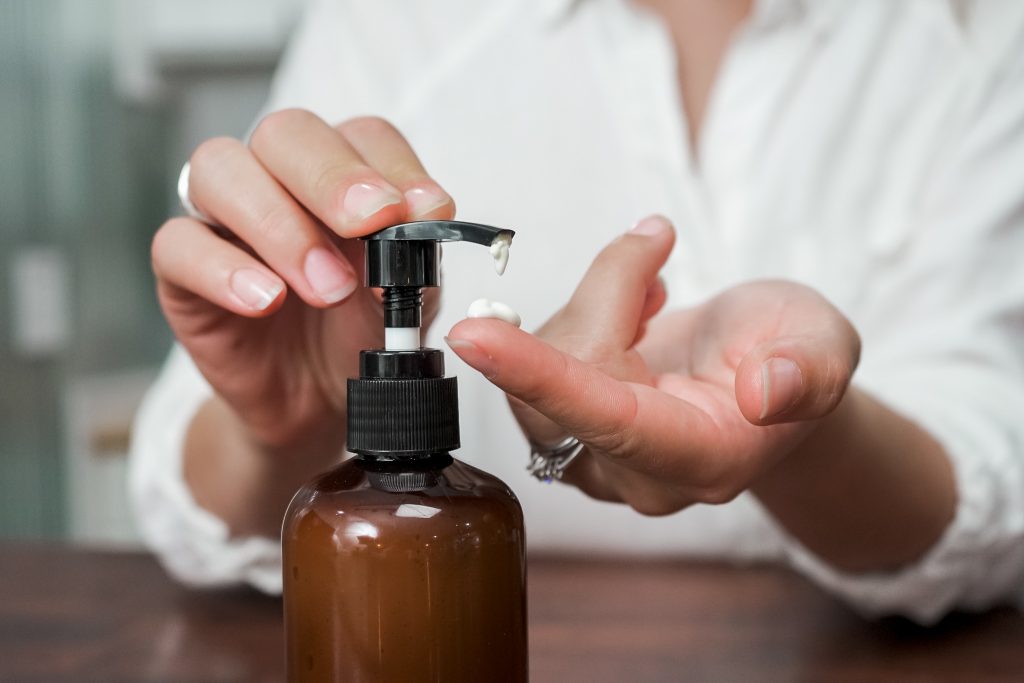
Save Money and Use High-Quality Ingredients: Homemade lotions and creams are cost-effective while allowing you to use premium, natural ingredients.
Avoid Harmful Chemicals: Many store-bought products contain unwanted chemicals or fillers, but when you make your own, you control exactly what goes into them.
Tailored to Your Skin’s Needs: Customize your products to target concerns like hydration, soothing botanicals, or fragrance-free formulas.
Personal Satisfaction: Enjoy the unique joy of creating skincare that’s effective, wholesome, and crafted with care by you.
Why Start Your DIY Skincare Journey Today?
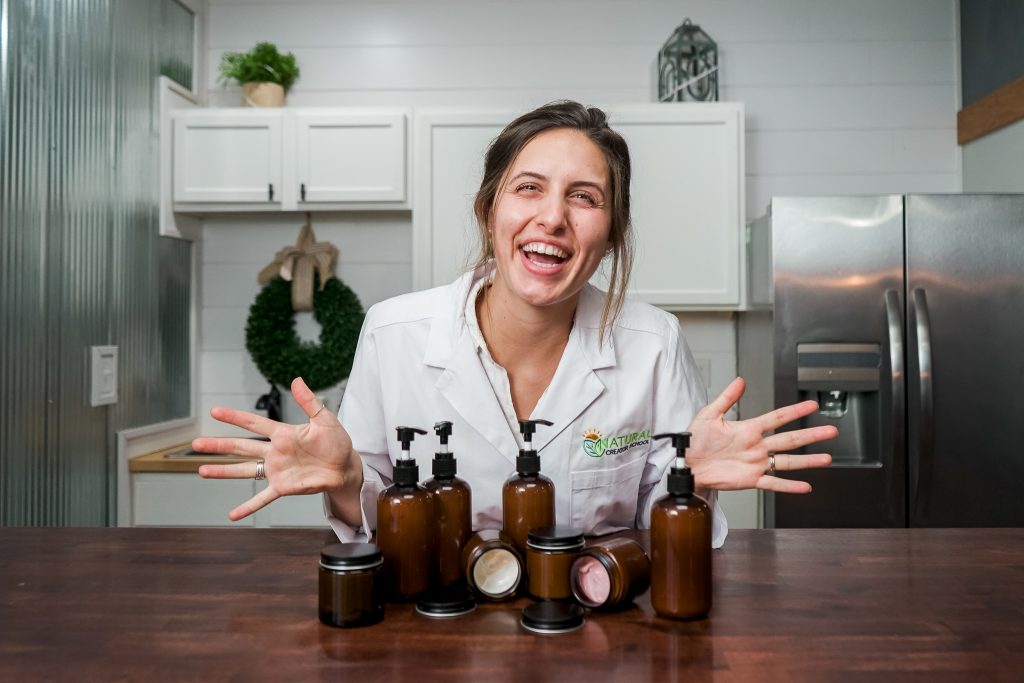
Creating your skincare products is not just rewarding. It’s a fun and creative way to personalize your beauty routine! DIY skincare allows you to craft products tailored to your unique needs while exploring the delightful world of natural ingredients. Imagine the joy of mixing your favorite essential oils to create a lotion that feels luxurious and smells divine—there’s nothing quite like it!
We’d love for you to give it a try! Whip up a simple DIY lotion or cream and experiment with essential oil combinations you adore. Share your creations in the comments below—we can’t wait to hear about your favorite blends and inspiring ideas.
Check out tools like the Simply Earth Recipe Box to make starting easy. It’s packed with all the ingredients, recipes, and guidance for fun, hassle-free projects. Plus, don’t forget to grab your FREE DIY Lotions and Creams Cheat Sheet for everything you need to learn to perfect your skincare creations. Let’s get mixing!

