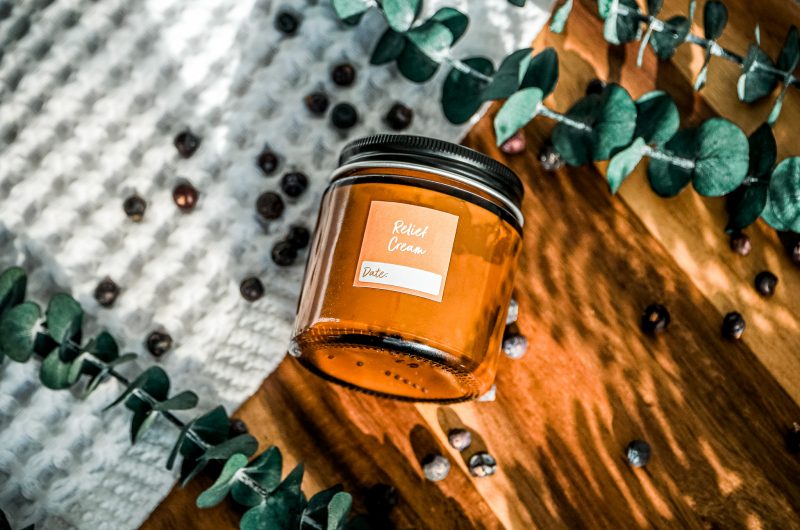
Are you tired of searching for the perfect relief cream only to find products filled with hard-to-pronounce chemicals and hefty price tags?
I’ve been there! A while back, I struggled to find something that truly worked for me—until I discovered the magic of making my own. DIY relief creams are a game-changer. They’re affordable, made with all-natural ingredients, and free of harsh toxins. Plus, you get the satisfaction of knowing exactly what’s going into your skincare routine!
In this blog, I’m sharing my favorite DIY Relief Cream Recipe that soothes aches, nourishes your skin, and refreshes you. You’ll learn step-by-step instructions, tips for customizing your cream, and the best ingredients to maximize the benefits. Get ready to transform your self-care routine with this simple, wholesome project!
Benefits of Using Homemade Relief Cream
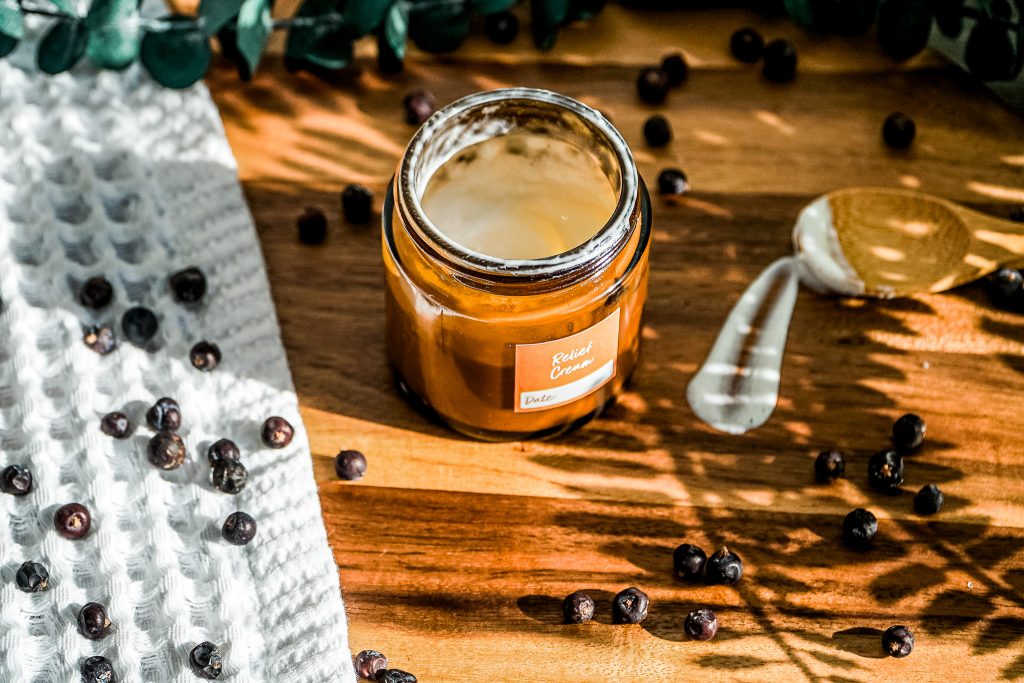
Cost-Effective: Making your relief cream at home is significantly more affordable than purchasing high-end, store-bought options. You can save money while still achieving great results.
Free of Synthetic Chemicals: Homemade creams are crafted without artificial additives or harsh chemicals, making them safer for sensitive skin or those prone to allergies.
Customizable: Tailor your cream to suit your specific needs! Whether you want extra soothing properties for sore muscles or calming relief for irritated skin, you can adjust the recipe to match your requirements perfectly.
Natural Ingredients, Effective Relief: Using natural, high-quality ingredients ensures effective relief without the risk of side effects often associated with synthetic products. Nature has everything you need for a healthier alternative!
Creative and Rewarding: The process of creating something beneficial with your own hands is immensely satisfying. Not only do you get a customized product, but you also enjoy the rewarding experience of crafting a wholesome addition to your self-care routine.
What’s in This DIY Cream Recipe?
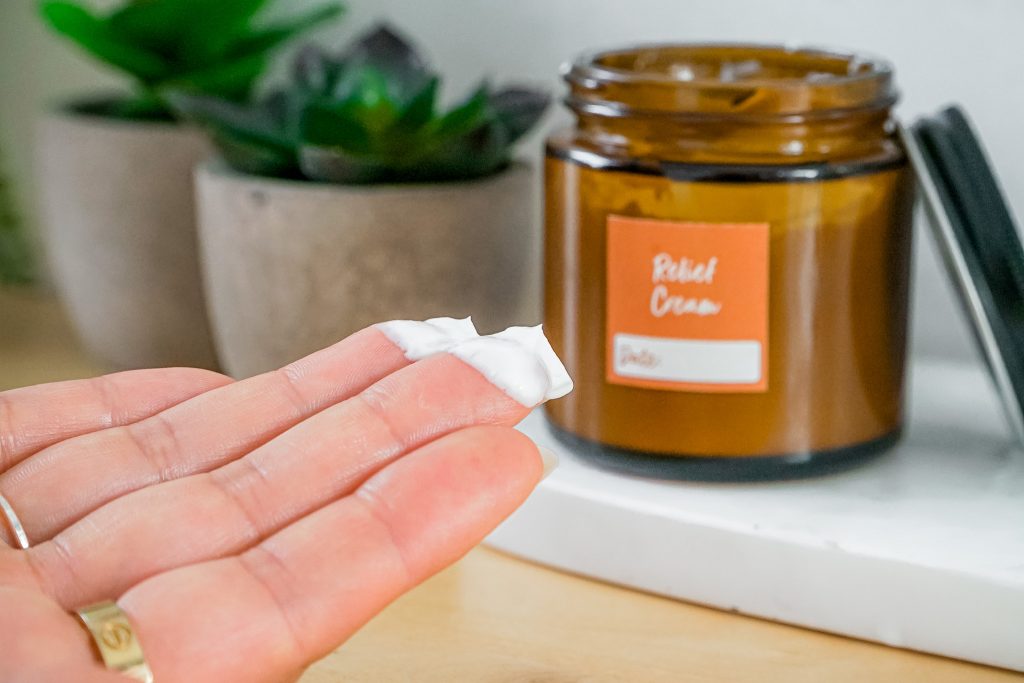
Cocoa Butter
Cocoa Butter creates a protective layer over the skin, locking in moisture and ensuring long-lasting hydration. This natural emollient also promotes skin flexibility, helping to maintain its elasticity and youthful appearance. Additionally, cocoa butter softens and smooths the skin, leaving you with a radiant, youthful glow that feels as good as it looks.
Emulsifying Wax
Emulsifying Wax gives your creations a smooth, luxurious texture, making them easy to apply and absorb into the skin. By improving the consistency of your products, emulsifying wax ensures that your lotions remain stable and well-blended. Plus, it delivers moisturizing benefits without leaving behind a greasy film, leaving your skin feeling soft, nourished, and perfectly pampered.
Almond Oil
Easily absorbed into the skin, Almond Oil provides deep nourishment while leaving a slightly oily feeling that locks in moisture. Its subtle scent with a hint of nuttiness adds a touch of natural luxury, making it a favorite in skincare and DIY cosmetic creations.
Beeswax
Beeswax is a versatile ingredient renowned for its humectant, emollient, and occlusive properties that deeply nourish and protect the skin. It helps to lock in moisture, creating a barrier that shields your skin from dryness and environmental stressors. Additionally, beeswax gives creams a solid yet creamy consistency, making it an essential component in crafting rich, hydrating skincare products.
Relief Essential Oil Blend
Relief Essential Oil Blend is a warming, comforting blend designed to help soothe discomfort and promote relaxation. With its soothing, herbaceous aroma, this blend is perfect for calming tense muscles and providing ease after a long, tiring day.
Distilled Water
When crafting your skincare creams, using distilled water is a crucial step to ensure the quality and safety of your product. Distilled water is pure and free from additives. Additionally, distilled water helps maintain the consistency and texture of the cream, ensuring a smooth, luxurious application.
Vegetable Glycerin (optional)
Vegetable Glycerin is a powerhouse ingredient for moisturizing and hydrating the skin. Its humectant properties allow it to draw moisture from the air and lock it into your skin, leaving it soft, supple, and intensely hydrated.
Geogard ECT Preservative (optional)
Geogard ECT offers broad-spectrum activity, effectively targeting bacteria, yeast, and molds to ensure the longevity and safety of your creations. With very little aroma, it allows the natural fragrance of essential oils to take center stage.
Things to Remember When Using This Recipe

Always dilute an essential oil when using it on the skin. This essential oil recipe is unlikely to cause skin irritation when diluted properly. If the oil has oxidized (been left with the cap off for long periods of time), it is more likely to cause skin irritation. Check out this dilution chart for diluting this essential oil properly.

This essential oil recipe is not generally safe to use if you are pregnant. Consult your doctor prior to use.

This essential oil recipe is safe to use with kids aged 10+.

Cats may find this recipe irritating. For more information on using essential oils with cats, check out this blog post.

Dogs may find this recipe irritating. For more information on using essential oils with dogs, check out this blog post.
We don’t recommend ingesting essential oils unless directed by a doctor certified in aromatherapy. For more information on why we don’t ingest essential oils, check out this blog post.
*Please note: This post is a compilation of suggestions made by those that have extensively used essential oils and has not been verified scientifically with clinical tests nor reviewed by medical experts. It is anecdotal information and should be treated as such. For serious medical concerns, please consult your doctor. The statements given in this blog post have not been verified by the FDA
Relief Cream Recipe
Relief Cream Recipe
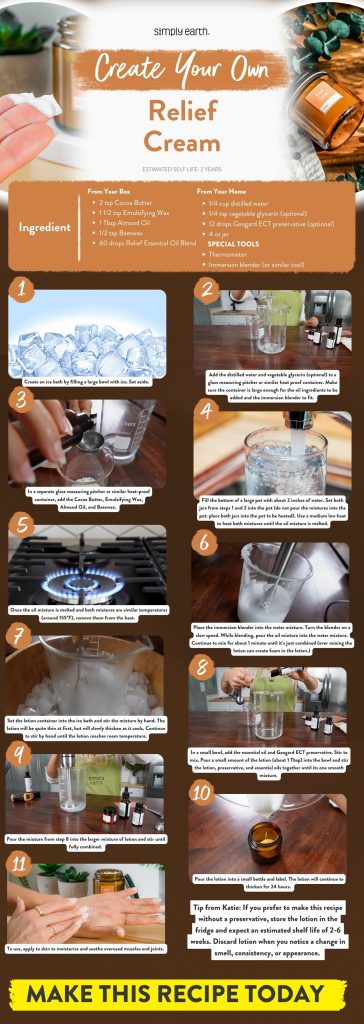
Ingredients
- 📦 FROM YOUR BOX
2 tsp Cocoa Butter
1 1/2 tsp Emulsifying Wax
1 Tbsp Almond Oil
1/2 tsp Beeswax
60 drops Relief Essential Oil Blend
- 🏠 FROM YOUR HOME
1/4 cup distilled water
1/4 tsp Vegetable Glycerin 🛒 (optional)
12 drops Geogard ECT preservative 🛒 (optional)
4 oz jar 🛒
- 🥄SPECIAL TOOLS
Thermometer
Immersion blender (or similar tool)
Directions
- Create an ice bath by filling a large bowl with ice. Set aside.
- Add the distilled water and Vegetable Glycerin (optional) to a glass measuring pitcher or similar heat-proof container. Ensure that the container is large enough for the oil ingredients to be added and the immersion blender to fit.
- Add the Cocoa Butter, Emulsifying Wax, Almond Oil, and Beeswax to a separate glass measuring pitcher or similar heat-proof container.
- Fill the bottom of a large pot with about 2 inches of water. Set both jars from steps 1 and 2 into the pot (do not pour the mixtures into the pot; place both jars into the pot to be heated). Use medium-low heat to heat both mixtures.
- Remove them from the heat once the oil mixture is melted and both mixtures are at similar temperatures (around 155°F).
- Place the immersion blender into the water mixture. Turn the blender at a slow speed. While blending, pour the oil mixture into the water mixture. Mix for about 1 minute until combined (over-mixing the cream can create foam).
- Set the cream container into the ice bath and stir the mixture by hand. The cream will initially be quite thin but slowly thicken as it cools. Continue to stir by hand until the cream reaches room temperature.
- In a small bowl, add the essential oil and Geogard ECT preservative. Stir to mix. Pour a small amount of the cream (about 1 Tbsp) into the bowl and stir the cream, preservative, and essential oils until they form a smooth mixture.
- Pour the mixture from step 8 into the larger mixture of cream and stir until thoroughly combined.
- Pour the cream into a small bottle. The cream will continue to thicken for 24 hours.
tip from katie
- If you prefer to make this recipe without a preservative, store the lotion in the fridge and expect an estimated 2-6 weeks of shelf life. Discard lotion when you notice a change in smell, consistency, or appearance.
FAQ/ Troubleshooting Section
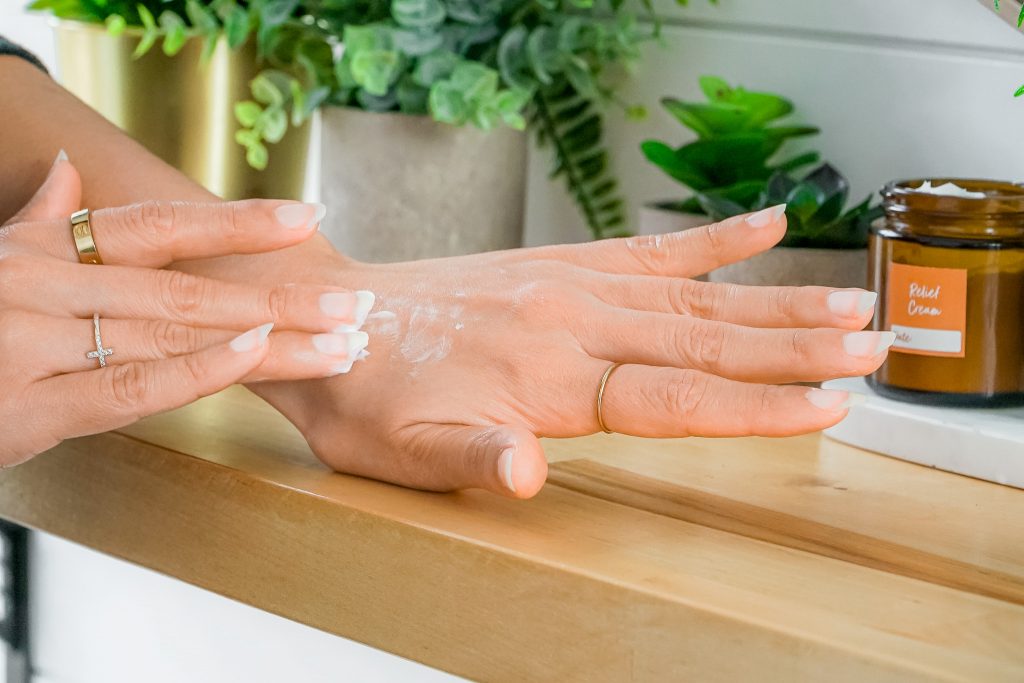
What if my cream is too oily?
If your cream feels too oily, you can adjust the beeswax ratio in your next batch. Increasing the amount of beeswax slightly will create a firmer and less oily consistency. Add small increments of beeswax (e.g., 1/2 teaspoon) and adjust as needed.
Can I use a different carrier oil?
Absolutely! You can swap out the carrier oil with alternatives like Fractionated Coconut, Jojoba, or Avocado Oils. Each oil has unique benefits and textures, so feel free to experiment to discover which one suits your skin best. Remember that some oils might create a richer or lighter cream, depending on your preference.
What should I do if my cream separates?
Separation can occur if the mix hasn’t been appropriately emulsified. To remedy this, ensure all ingredients are at a similar temperature before combining them. Gently reheat the mixture and whisk until it reaches a uniform consistency. Using an immersion blender can also help achieve better emulsification.
How can I get the perfect consistency?
Getting the ideal consistency may take a little trial and error. If your cream is too thick, add a few drops of your chosen carrier oil and stir thoroughly. For a thinner lotion, slightly reduce the beeswax or add more water to blend well. Patience and minor adjustments can make all the difference!
Experiment With The Recipe!
Creating and using your DIY relief cream offers numerous excellent benefits! You can tailor the ingredients to meet your needs and preferences and enjoy peace of mind with natural, skin-loving materials. Homemade creams save money, reduce waste, and are free from unnecessary chemicals often found in store-bought products. Best of all, it’s a fulfilling and rewarding process to craft something uniquely yours.
We encourage you to experiment with the recipe! Try different essential oils and carrier oils, or adjust the consistency to achieve the perfect cream that works for you. Have fun with it, and don’t hesitate to share your experiences with us—we’d love to hear about your results! Drop any questions or share your tips in the comments below.
To spread creativity and joy, share this recipe with your friends or on social media using #IMadeThis. You just might win a $5 gift card and get featured on Simply Earth’s social media accounts! For even more fun and easy DIY natural recipes, subscribe to the Simply Earth Recipe Box today. Join our community and discover the power of natural living!


