Hello to all the DIY beauty enthusiasts out there! Prepare to embark on a delightful and creative journey of crafting your lip balm.
This enjoyable project allows you to customize your lip balm to match your unique tastes and preferences. Imagine choosing your favorite flavors, scents, and colors while ensuring that what you use is entirely natural and personally selected by you. You’ll be well on your way with just a few essential materials and tools—like beeswax, carrier oils, a double boiler, and some small, charming containers.
Get started on this exciting experience and relish the satisfaction of creating beauty products tailored just for you!
How To Make Lip Balms: Step-by-Step Process

1. Gather Your Materials
To create your lip balm, gather the necessary ingredients: beeswax, carrier oil, butter, essential oils, and colorants. You’ll also need tools, such as a double boiler or a heat-safe bowl, along with small containers or lip balm tubes for storage.
A helpful tip is to ensure that all your materials are prepared in advance to streamline the process, making your lip balm-making experience smooth and enjoyable!
2. Melt the Base
Set up a double boiler for gentle melting without burning your ingredients. As the water in the bottom pot heats up, add your beeswax, carrier oil, and butter to the top pot. Stir regularly to ensure everything melts together smoothly, creating a luscious mixture. This method provides an even consistency and helps preserve the beneficial properties of your ingredients, making your creations even more effective!
3. Add Additional Ingredients
Before adding additional ingredients, be sure to remove the mixture from heat. This is the time to get creative by adding essential oils and colorants! The possibilities are endless, whether you infuse your blend with calming lavender or invigorating citrus. Not only do these additions enhance the sensory experience, but they also allow for a unique personal touch. Imagine crafting a custom scent that reflects your personality or mood and selecting colors that resonate with your style. Embrace the chance to personalize your creations and let your individuality shine through!
4. Pour into Containers
When you’re ready to pour the mixture into containers, take your time to ensure a careful and precise pour for the best results. If you notice that the balm has started to harden before you can get it into the containers, don’t worry—simply reheating it gently will bring it back to a pourable consistency. This way, you can achieve a smooth and even fill every time!
5. Let It Set
Simple steps are essential to ensure your balm cools and hardens appropriately. One effective method is to place the balm in the fridge, especially if you’re using shea butter, as this helps prevent any graininess from forming. By cooling your mixture correctly, you’ll achieve a smooth, desirable texture that enhances its overall quality and effectiveness.
6. Label and Store
To ensure the best quality of your lip balm, it’s a great idea to label containers with the date and ingredients. This simple practice helps you keep track of freshness and avoid waste. Storing your lip balm in a cool, dry place can significantly enhance its longevity and effectiveness. By following these tips, you can enjoy your lip balm at its best!
Customize To Add Your Personal Touch

Dive deeper into the fascinating world of essential oils by experimenting with various combinations to craft unique and captivating scents tailored to your preferences. Start by researching different essential oils and their properties, as each one offers distinct benefits and aromas that can impact your mood and well-being.
Consider adding natural colorants like beetroot powder or spirulina to achieve vibrant or subtle hues that enhance your creations visually. This will make your lip balms more appealing and allow you to express your creativity in new ways.
As you embark on this journey of experimentation, keep a journal to document your fragrance recipes and any adjustments you make. This will help you track what works and what doesn’t, making it easier to recreate your favorite blends in the future. Remember, each blend tells a story and reflects your unique personality. Happy blending!
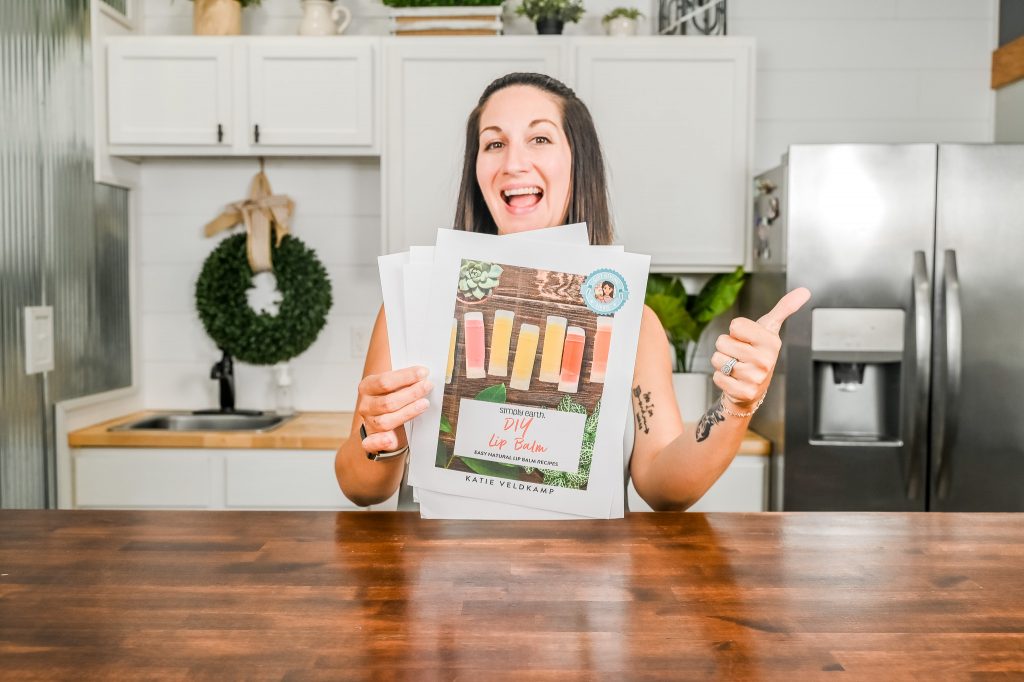
Get This Free Lip Balm Guide Today!

Celebrate the joy of crafting your very own personalized lip balm! Not only will you experience the satisfaction of creating something unique, but you’ll also enjoy the peace of mind from using natural ingredients free from harmful toxins. We encourage you to unleash your creativity and share your unique creations on social media with the hashtag #imadethis. Connect with a vibrant community of DIY beauty enthusiasts who are just as passionate about handmade products as you are!
Why not dive in and try making your lip balm today? Feel the difference that comes from using your own carefully selected ingredients. And don’t forget to take advantage of our FREE Lip Balm Guide—it’s packed with everything you need to know about crafting the perfect lip balms, from tips and tricks to exciting flavor combinations.

