

Creating beeswax candles at home is an enjoyable and rewarding endeavor.
With this recipe, you can craft three exquisite pillar candles lightly scented with Cassia Essential Oil. This delightful scent, and the naturally sweet aroma of warm honey beeswax, will infuse your home with a cozy, inviting atmosphere.
Whether you are new to candle making or an experienced artisan, this guide will walk you through each step, ensuring you end up with beautifully made, scented beeswax candles that highlight the art of traditional craftsmanship.
What Are Beeswax Candles
Beeswax candles, made from the natural wax produced by honeybees, are a fabulous, eco-friendly alternative to conventional candles. Unlike paraffin candles that are derived from petroleum, beeswax candles burn cleanly, without releasing harmful toxins or residues and ensuring a safer and healthier environment in your home.
Further enhancing their appeal, beeswax candles emit a naturally sweet, honey-like fragrance as they burn, creating a warm and welcoming ambiance. Plus, the warm golden glow of beeswax candles is known to produce minimal soot and smoke. Their longer burn time and naturally dripless nature make beeswax candles a practical and luxurious choice for any candle enthusiast.
What’s in These Scented Beeswax Candles

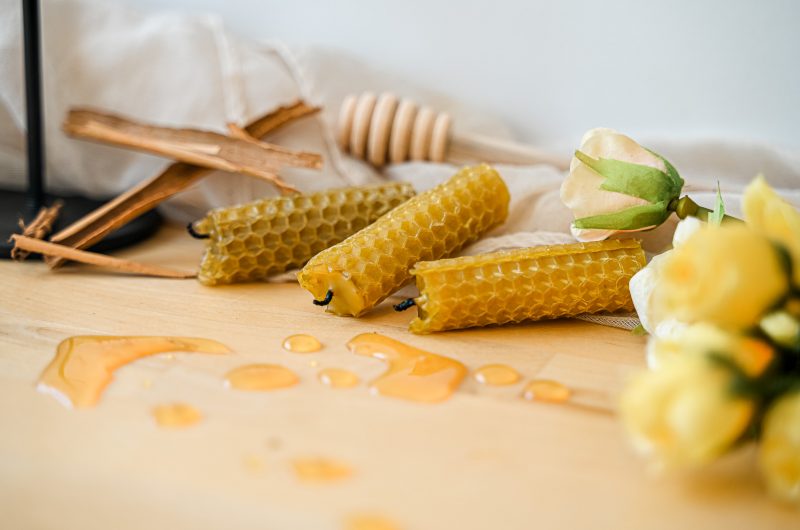
Beeswax Sheets
Beeswax sheets are a fantastic starting point for creating your candles. These sheets roll right into a candle, allowing beginners to easily craft beautiful creations. The light beeswax emits is most similar to natural sunlight, compared to other waxes. This unique characteristic provides a warm, ambient glow into your home. Additionally, beeswax sheets have a light, honey-like scent, enriching your space with a naturally sweet aroma.
Cotton Wick
Made from 100% cotton, these cotton candle wicks ensure your candles burn long and clean. They provide a consistent and steady flame, without the harmful toxins emitted by synthetic wicks. Cotton wicks also enhance the burn quality of your candles and are much better for the environment.
Cassia Essential Oil
Cassia Essential Oil infuses your candles with a spicy, warm, cinnamon-like aroma that is comforting and invigorating. This delightful scent enhances the beeswax’s natural honey fragrance and adds an uplifting quality to your space. Its aromatic profile has been cherished for centuries for its ability to boost mood and bring a sense of warmth and relaxation.
Things to Remember When Using this Recipe

Always dilute an essential oil when using it on the skin. This essential oil recipe is unlikely to cause skin irritation when diluted properly. If the oil has oxidized (been left with the cap off for long periods of time), it is more likely to cause skin irritation. Check out this dilution chart for diluting this essential oil properly.
This essential oil recipe is not generally safe to use if you are pregnant. Consult your doctor prior to use.

This essential oil recipe is safe to use with kids aged 10+.

Cats may find this recipe irritating. For more information on using essential oils with cats, check out this blog post.

Dogs may find this recipe irritating. For more information on using essential oils with dogs, check out this blog post.
We don’t recommend ingesting essential oils unless directed by a doctor certified in aromatherapy. For more information on why we don’t ingest essential oils, check out this blog post.
*Please note: This post is a compilation of suggestions made by those that have extensively used essential oils and has not been verified scientifically with clinical tests nor reviewed by medical experts. It is anecdotal information and should be treated as such. For serious medical concerns, please consult your doctor. The statements given in this blog post have not been verified by the FDA
Warm Honey Beeswax Sheet Candles Recipe
Warm Honey Beeswax Sheet Candles Recipe
Time: 2 mins
Est. Shelf Life: 12 months
Yield: 3 piece
Ingredients
- FROM YOUR BOX
3 beeswax sheets
Cotton wick
5 drops Cassia Essential Oil
- FROM YOUR HOME
Cotton ball
Candle holder(s)
Directions
- Lay one beeswax sheet out on a flat surface. Drop essential oil on a cotton ball. Dab the cotton ball across the wax to lightly scent your candle.
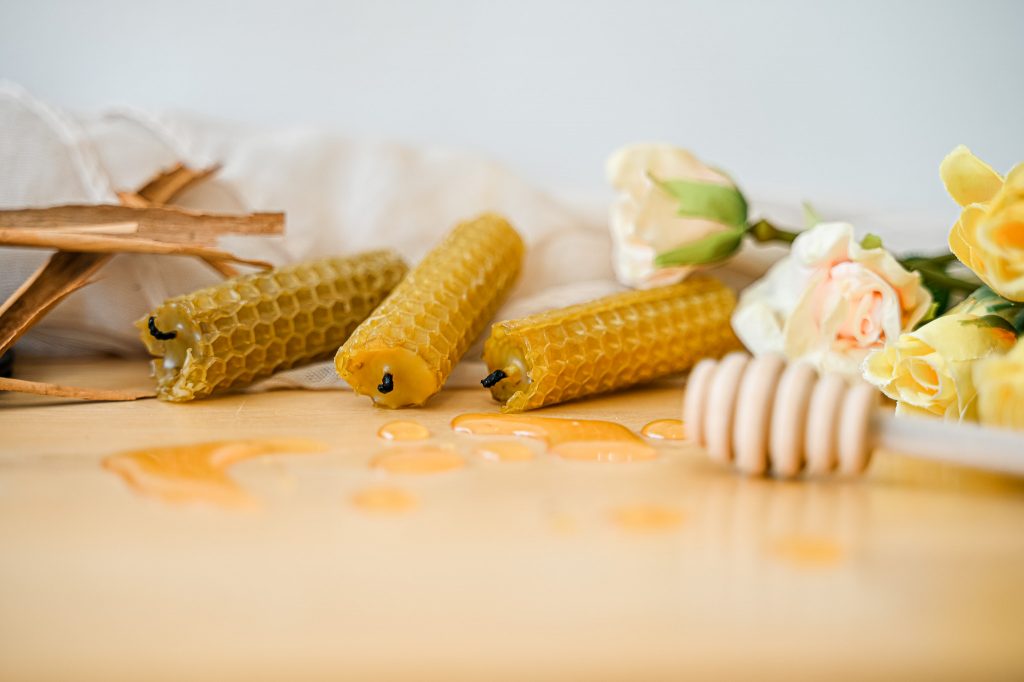
- Place the cotton wick along the long side of the beeswax to create a long candle. Trim the wick so it is about ¼ inch longer than your beeswax sheet on both ends.
- Tightly fold the edge of the beeswax sheet over the wick. If the wax begins to crack as you fold it, use the heat from your hands or a blow dryer to warm it up and pinch the cracks closed.
- Continue to roll up the wax as evenly as possible. Secure the wax by briefly heating it with your fingers or a blow dryer and pressing along the seam. Press the excess wick on the bottom of the candle onto the base of the candle to secure it.
- Repeat steps 1-4 with the other two beeswax sheets to create 3 candles.
tip from katie
- Be sure not to touch the essential oil with your fingers throughout this process. Cassia is a more irritating oil than most and can cause temporary irritation when it comes into contact with the skin.
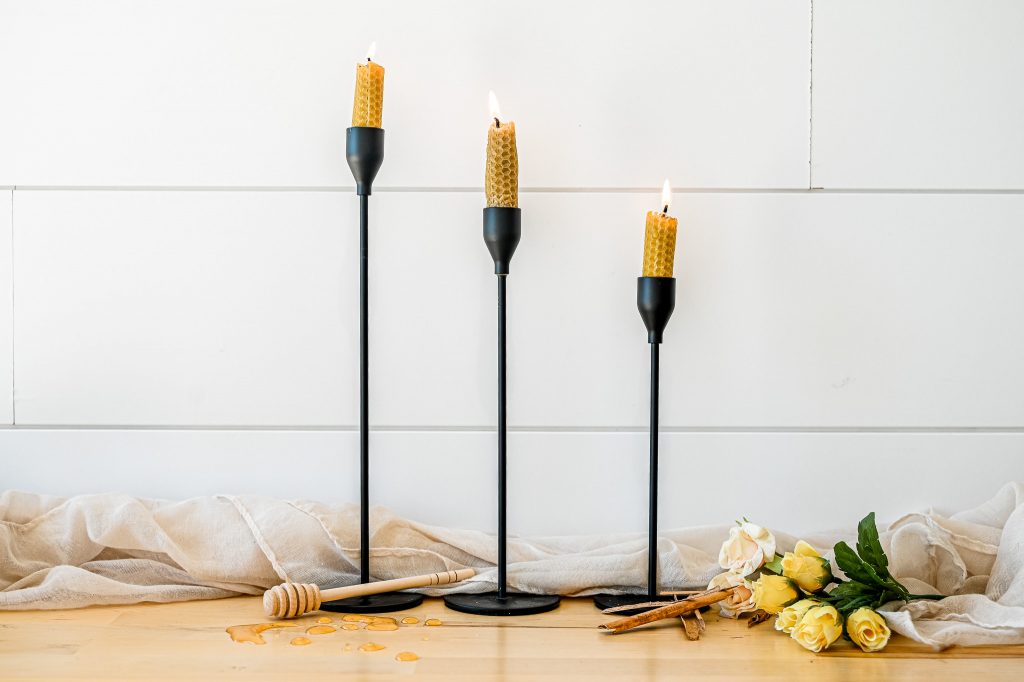
How To Use These Beeswax Sheet Candles
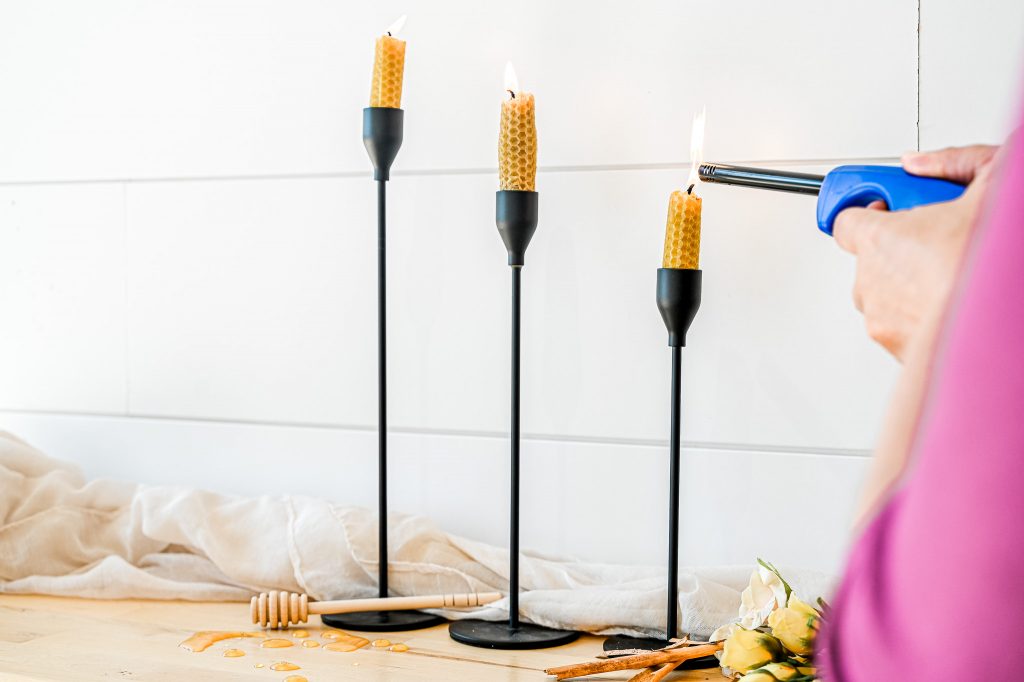
To use these scented beeswax candles, place the candle in a candle holder. You may need to press the candle onto the candle holder so that it stays in place. Light the candle. Always burn within sight to avoid any accidents. Keep the candle away from flammable materials to ensure safety. Additionally, keep the candles away from children and pets to prevent mishaps. Enjoy the warm, honey-like glow and the comforting scent of Cassia Essential Oil that fills your space.
Clean Up Tip
When it comes to cleaning up after making and using candles, preparation is key. Before you start, line your work surface with parchment paper or a disposable tablecloth to catch any stray wax. If any wax does spill, don’t panic! Let it cool and harden, then gently peel it off. A quick swipe with a cloth soaked in warm, soapy water usually does the trick for stubborn residue.
After burning the candles, remove any remaining wax in the holder by popping it into the freezer for a few hours. The wax will contract and can be easily removed with a gentle tap. With these simple steps, maintaining a clean, wax-free workspace is hassle-free, ensuring your candle-making experience remains enjoyable and mess-free.